Yagi in the Wind

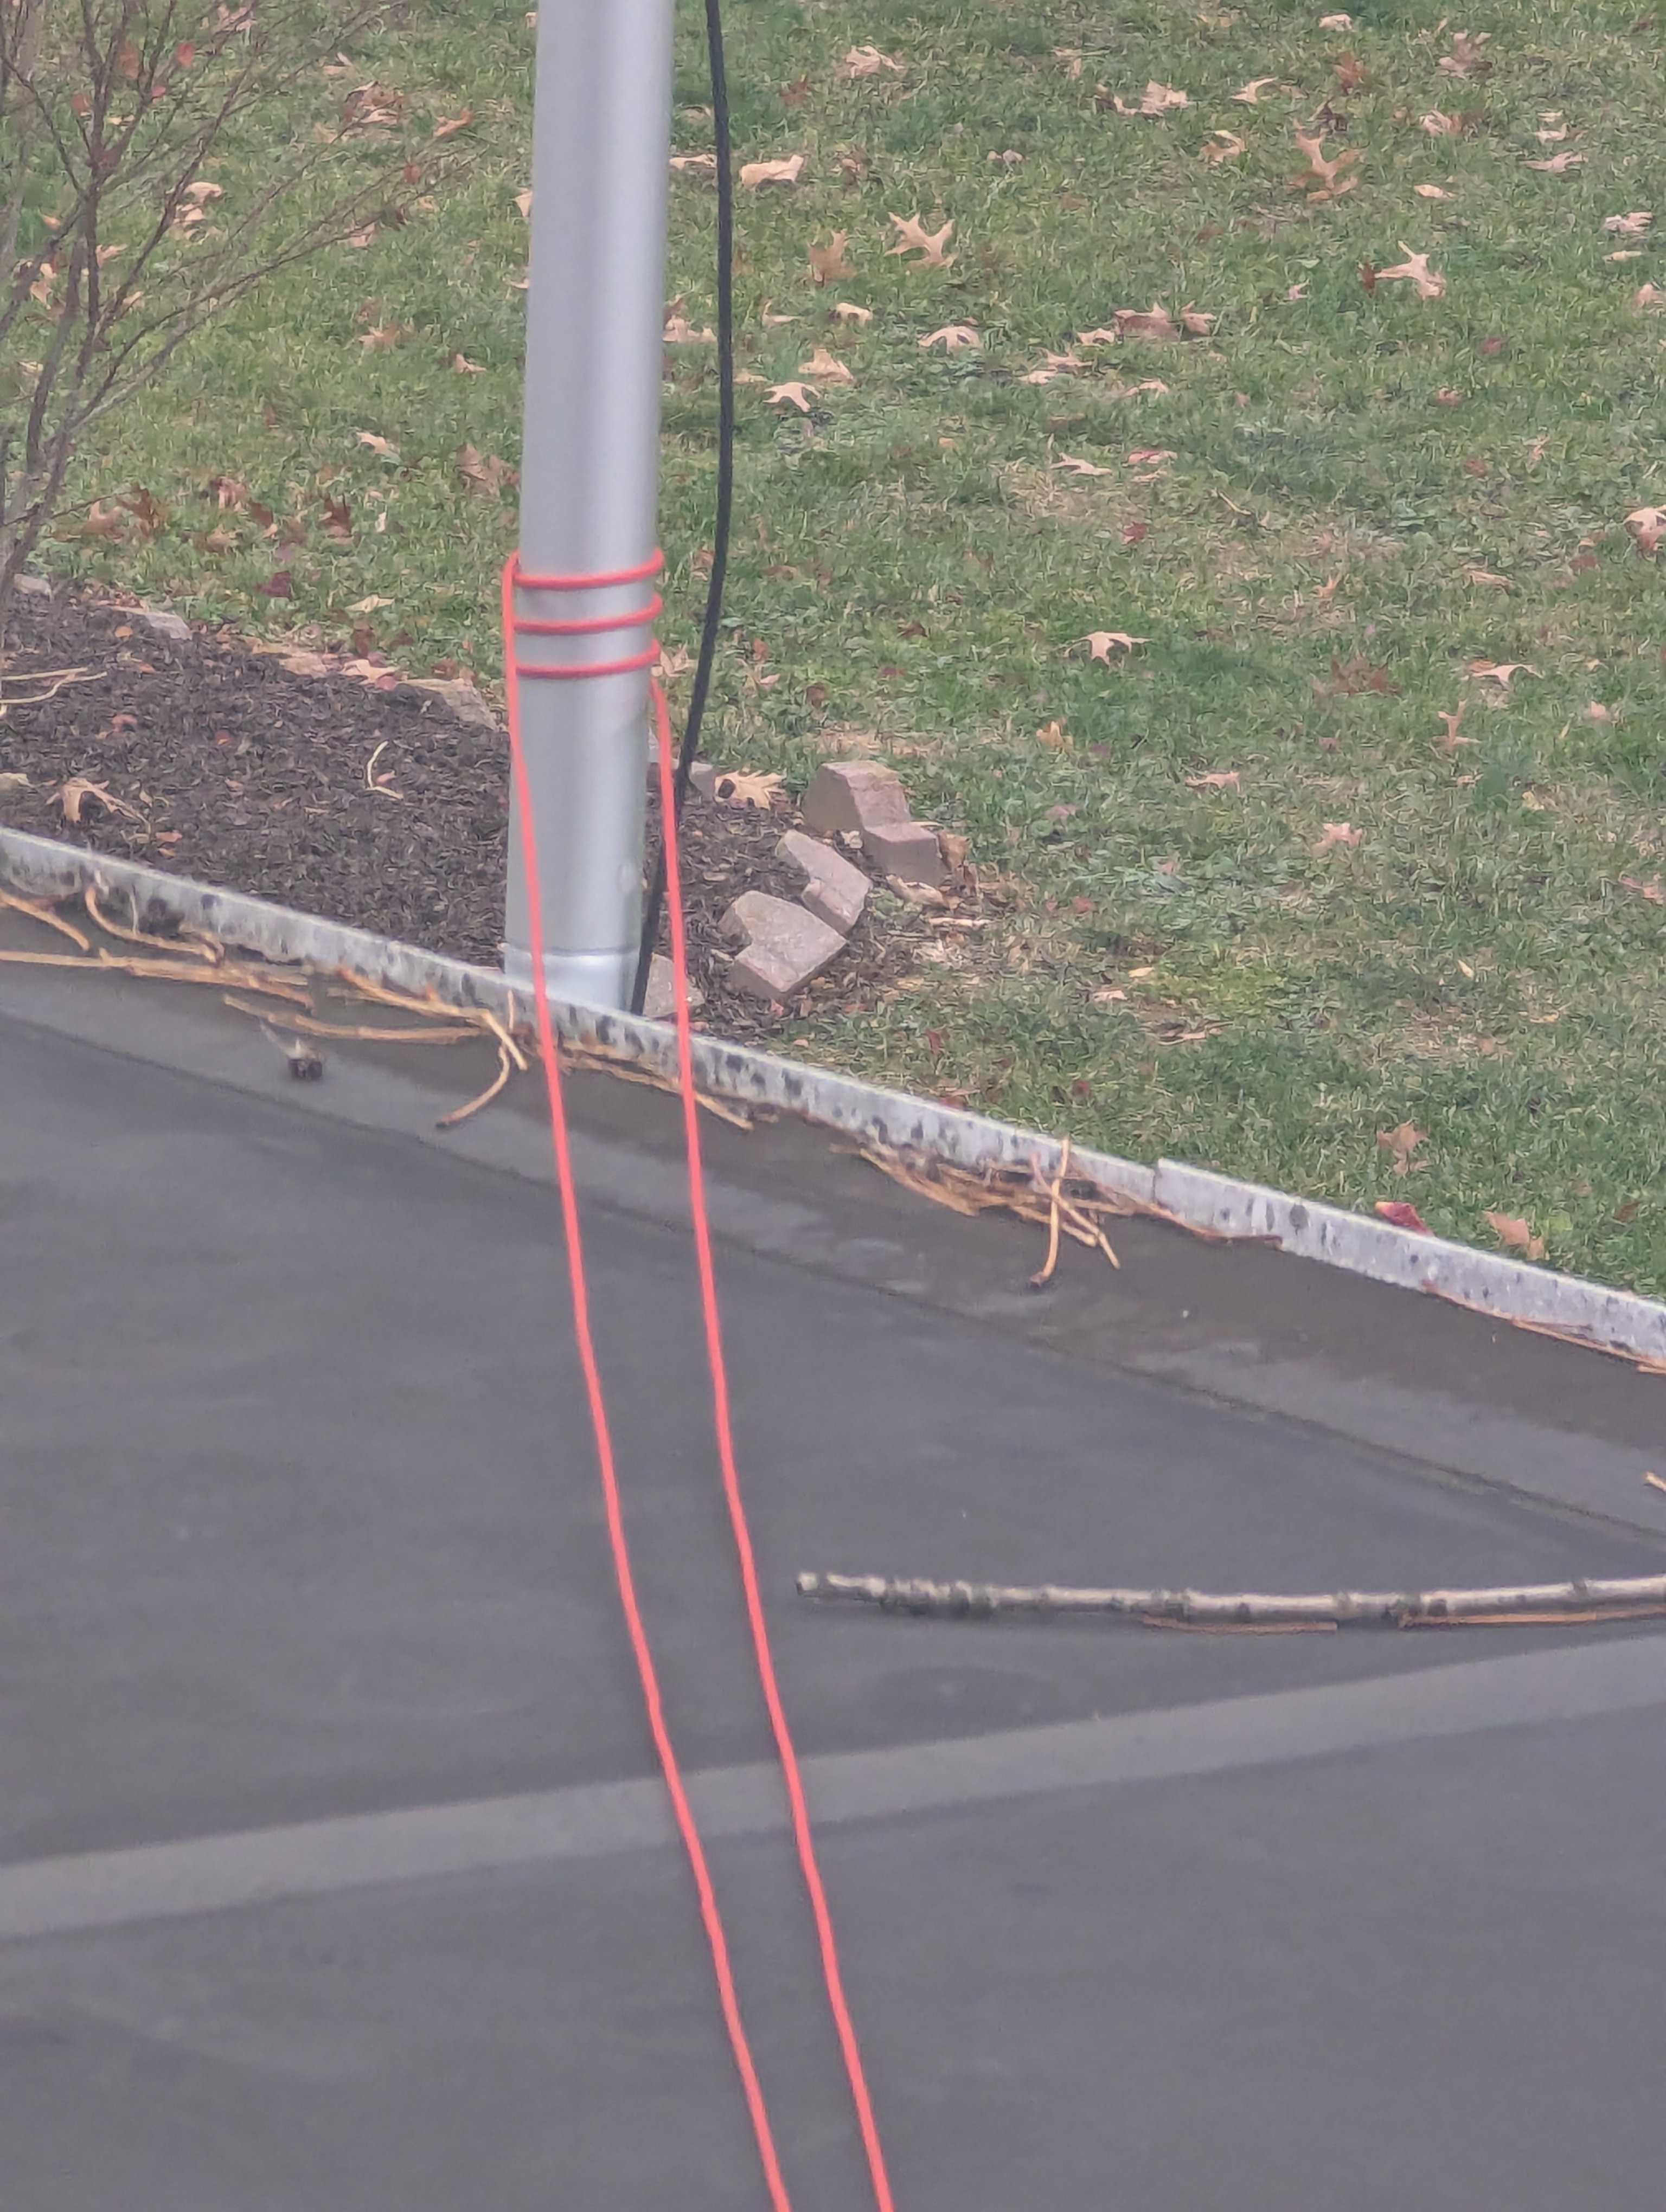
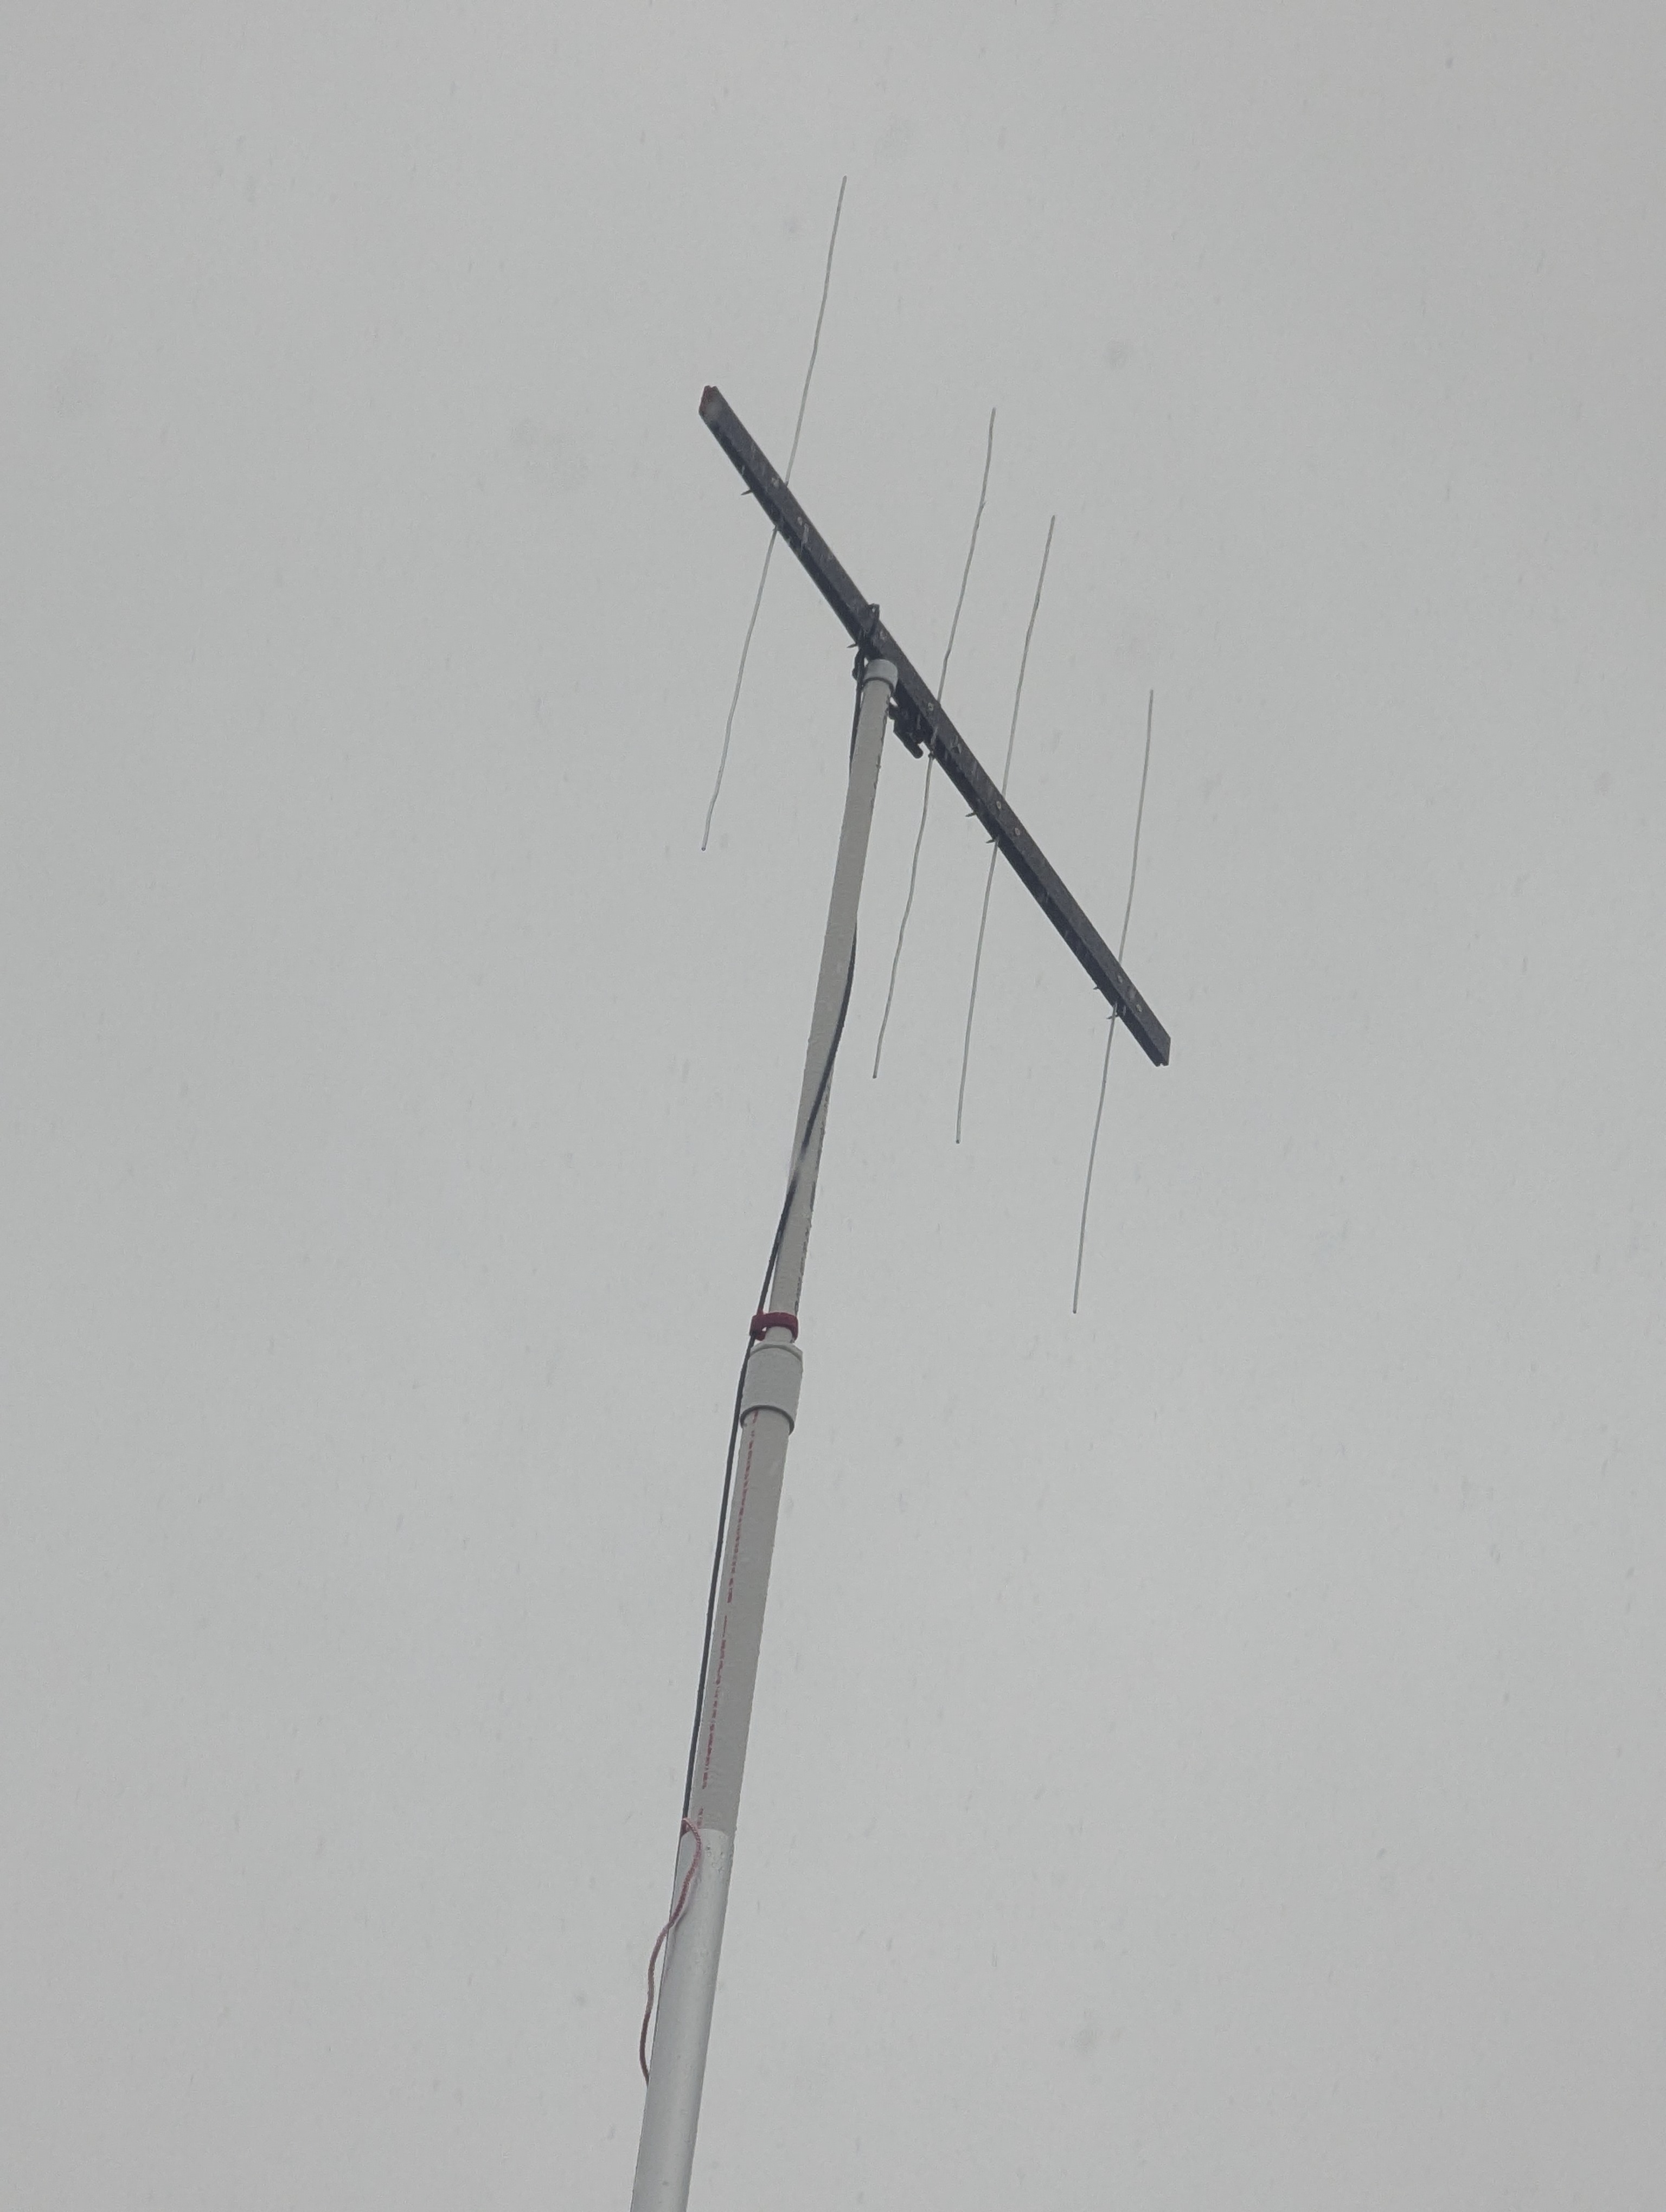
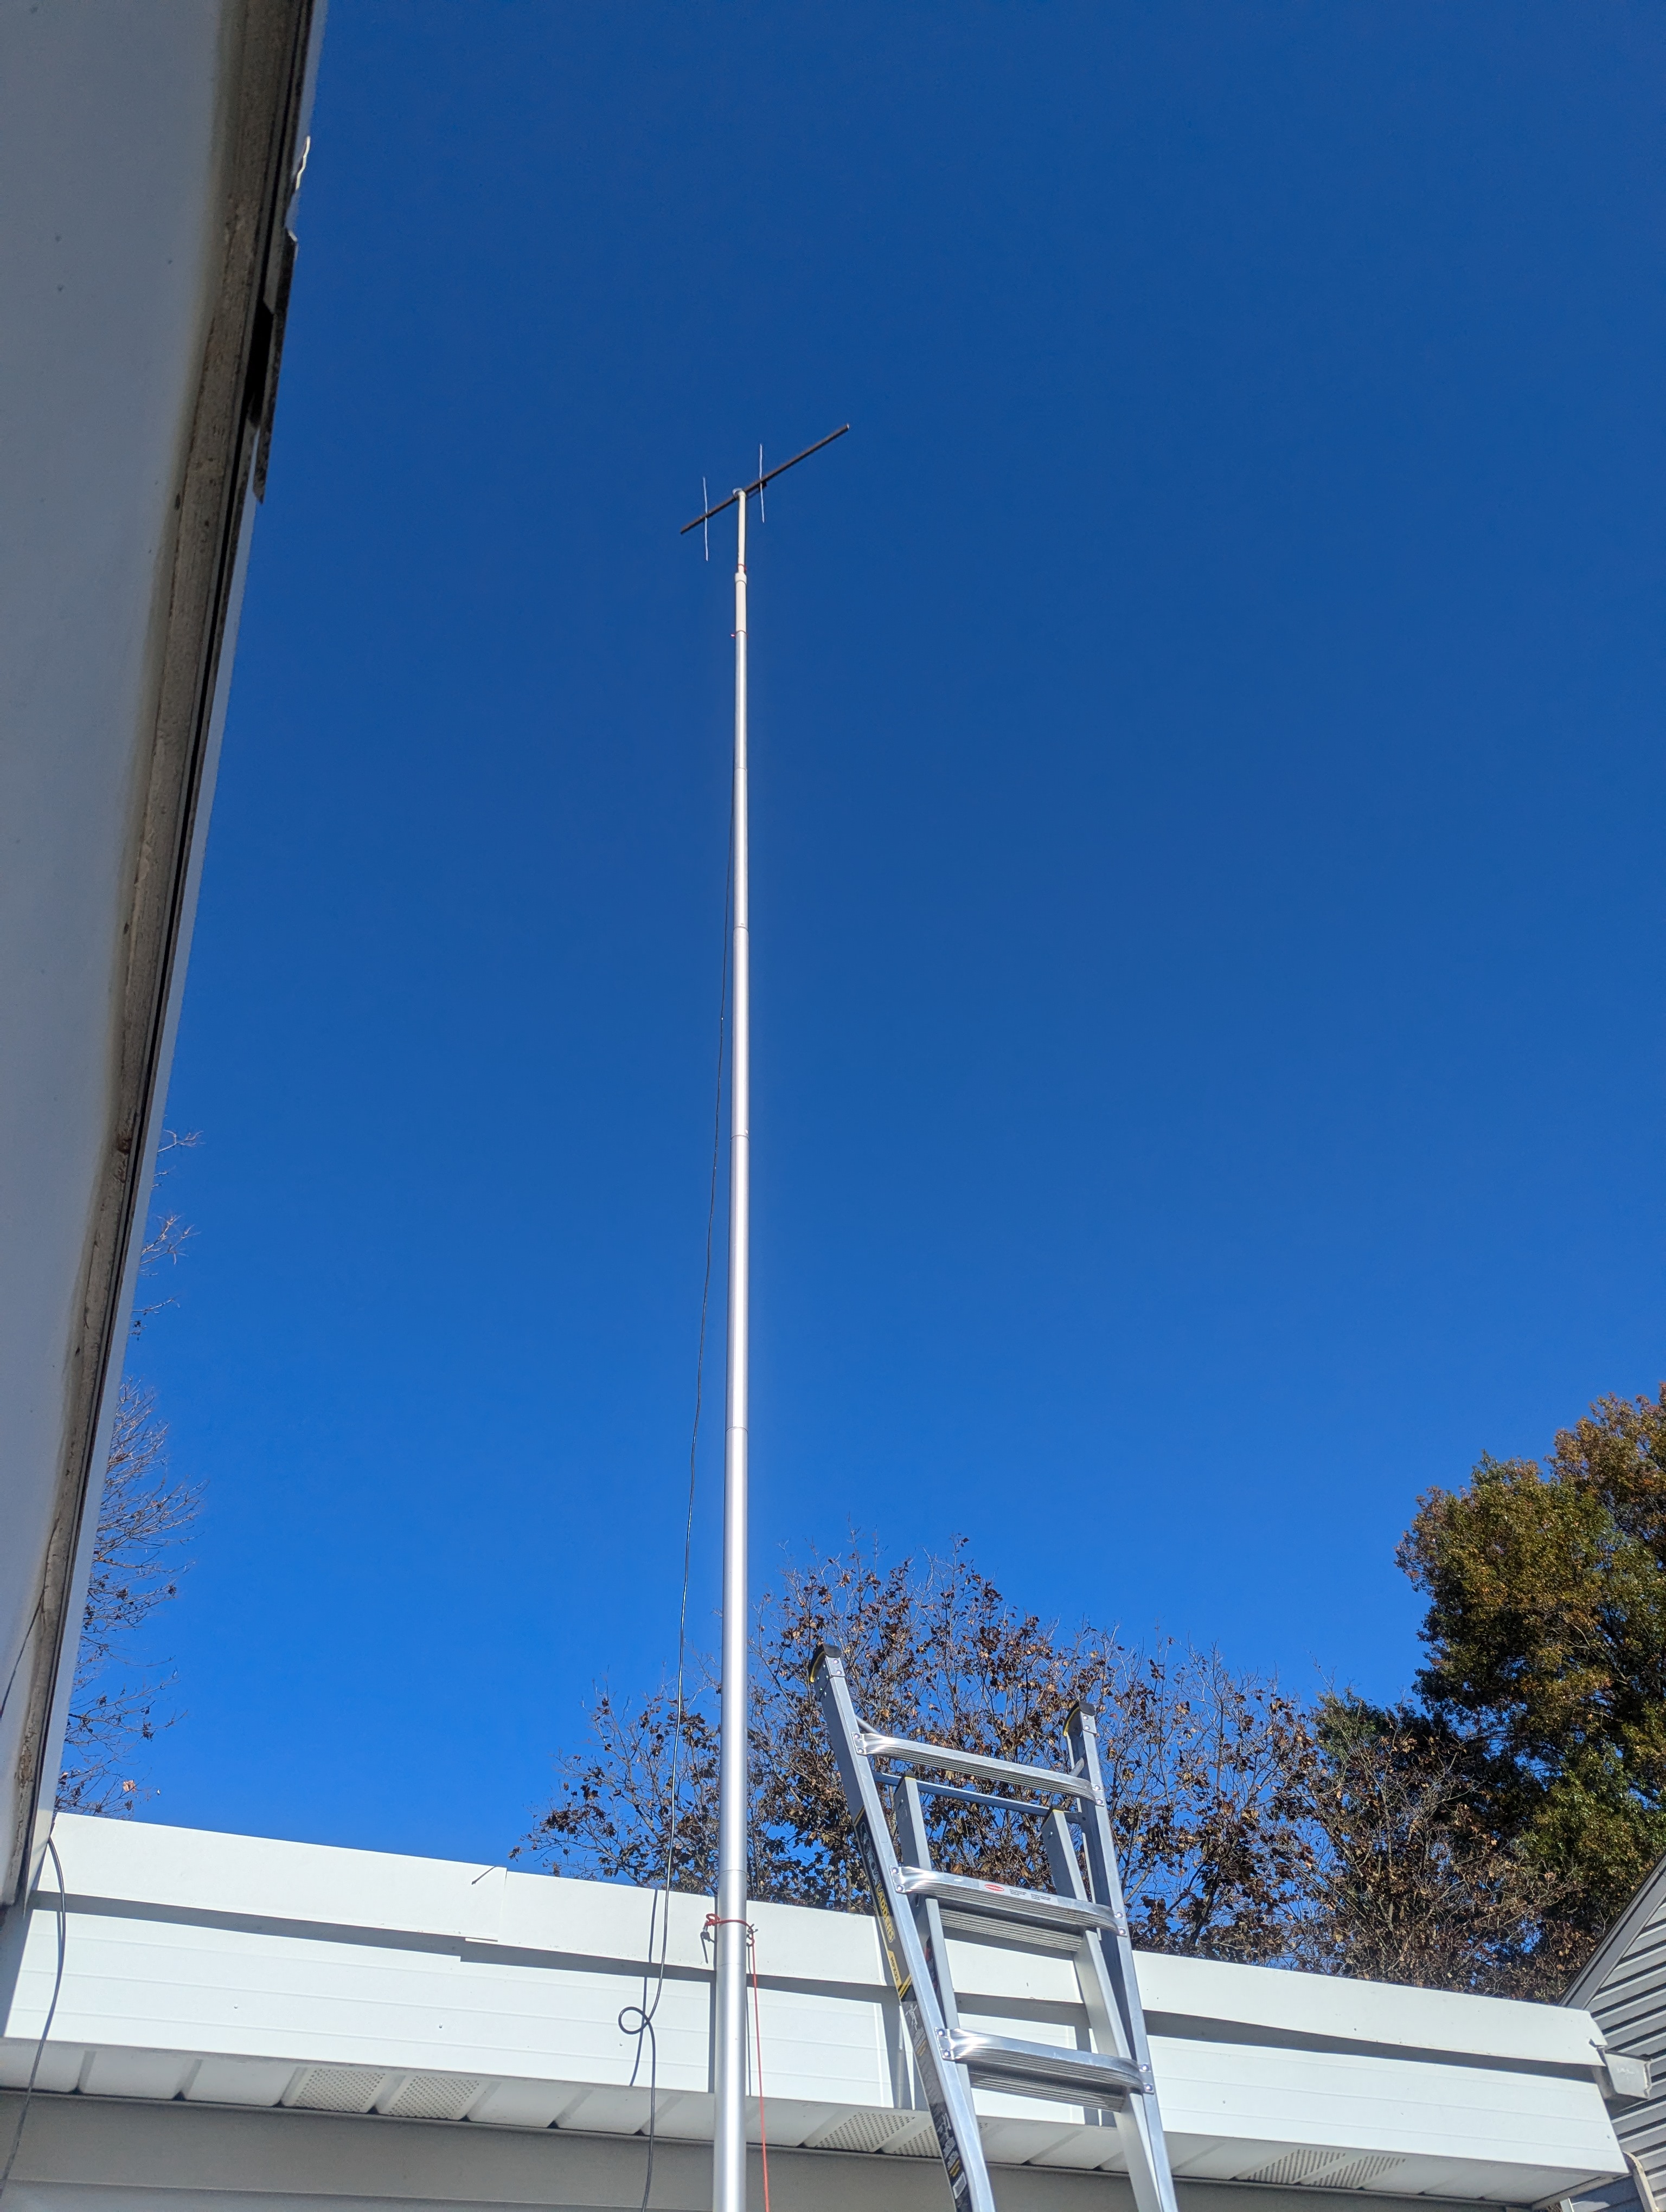
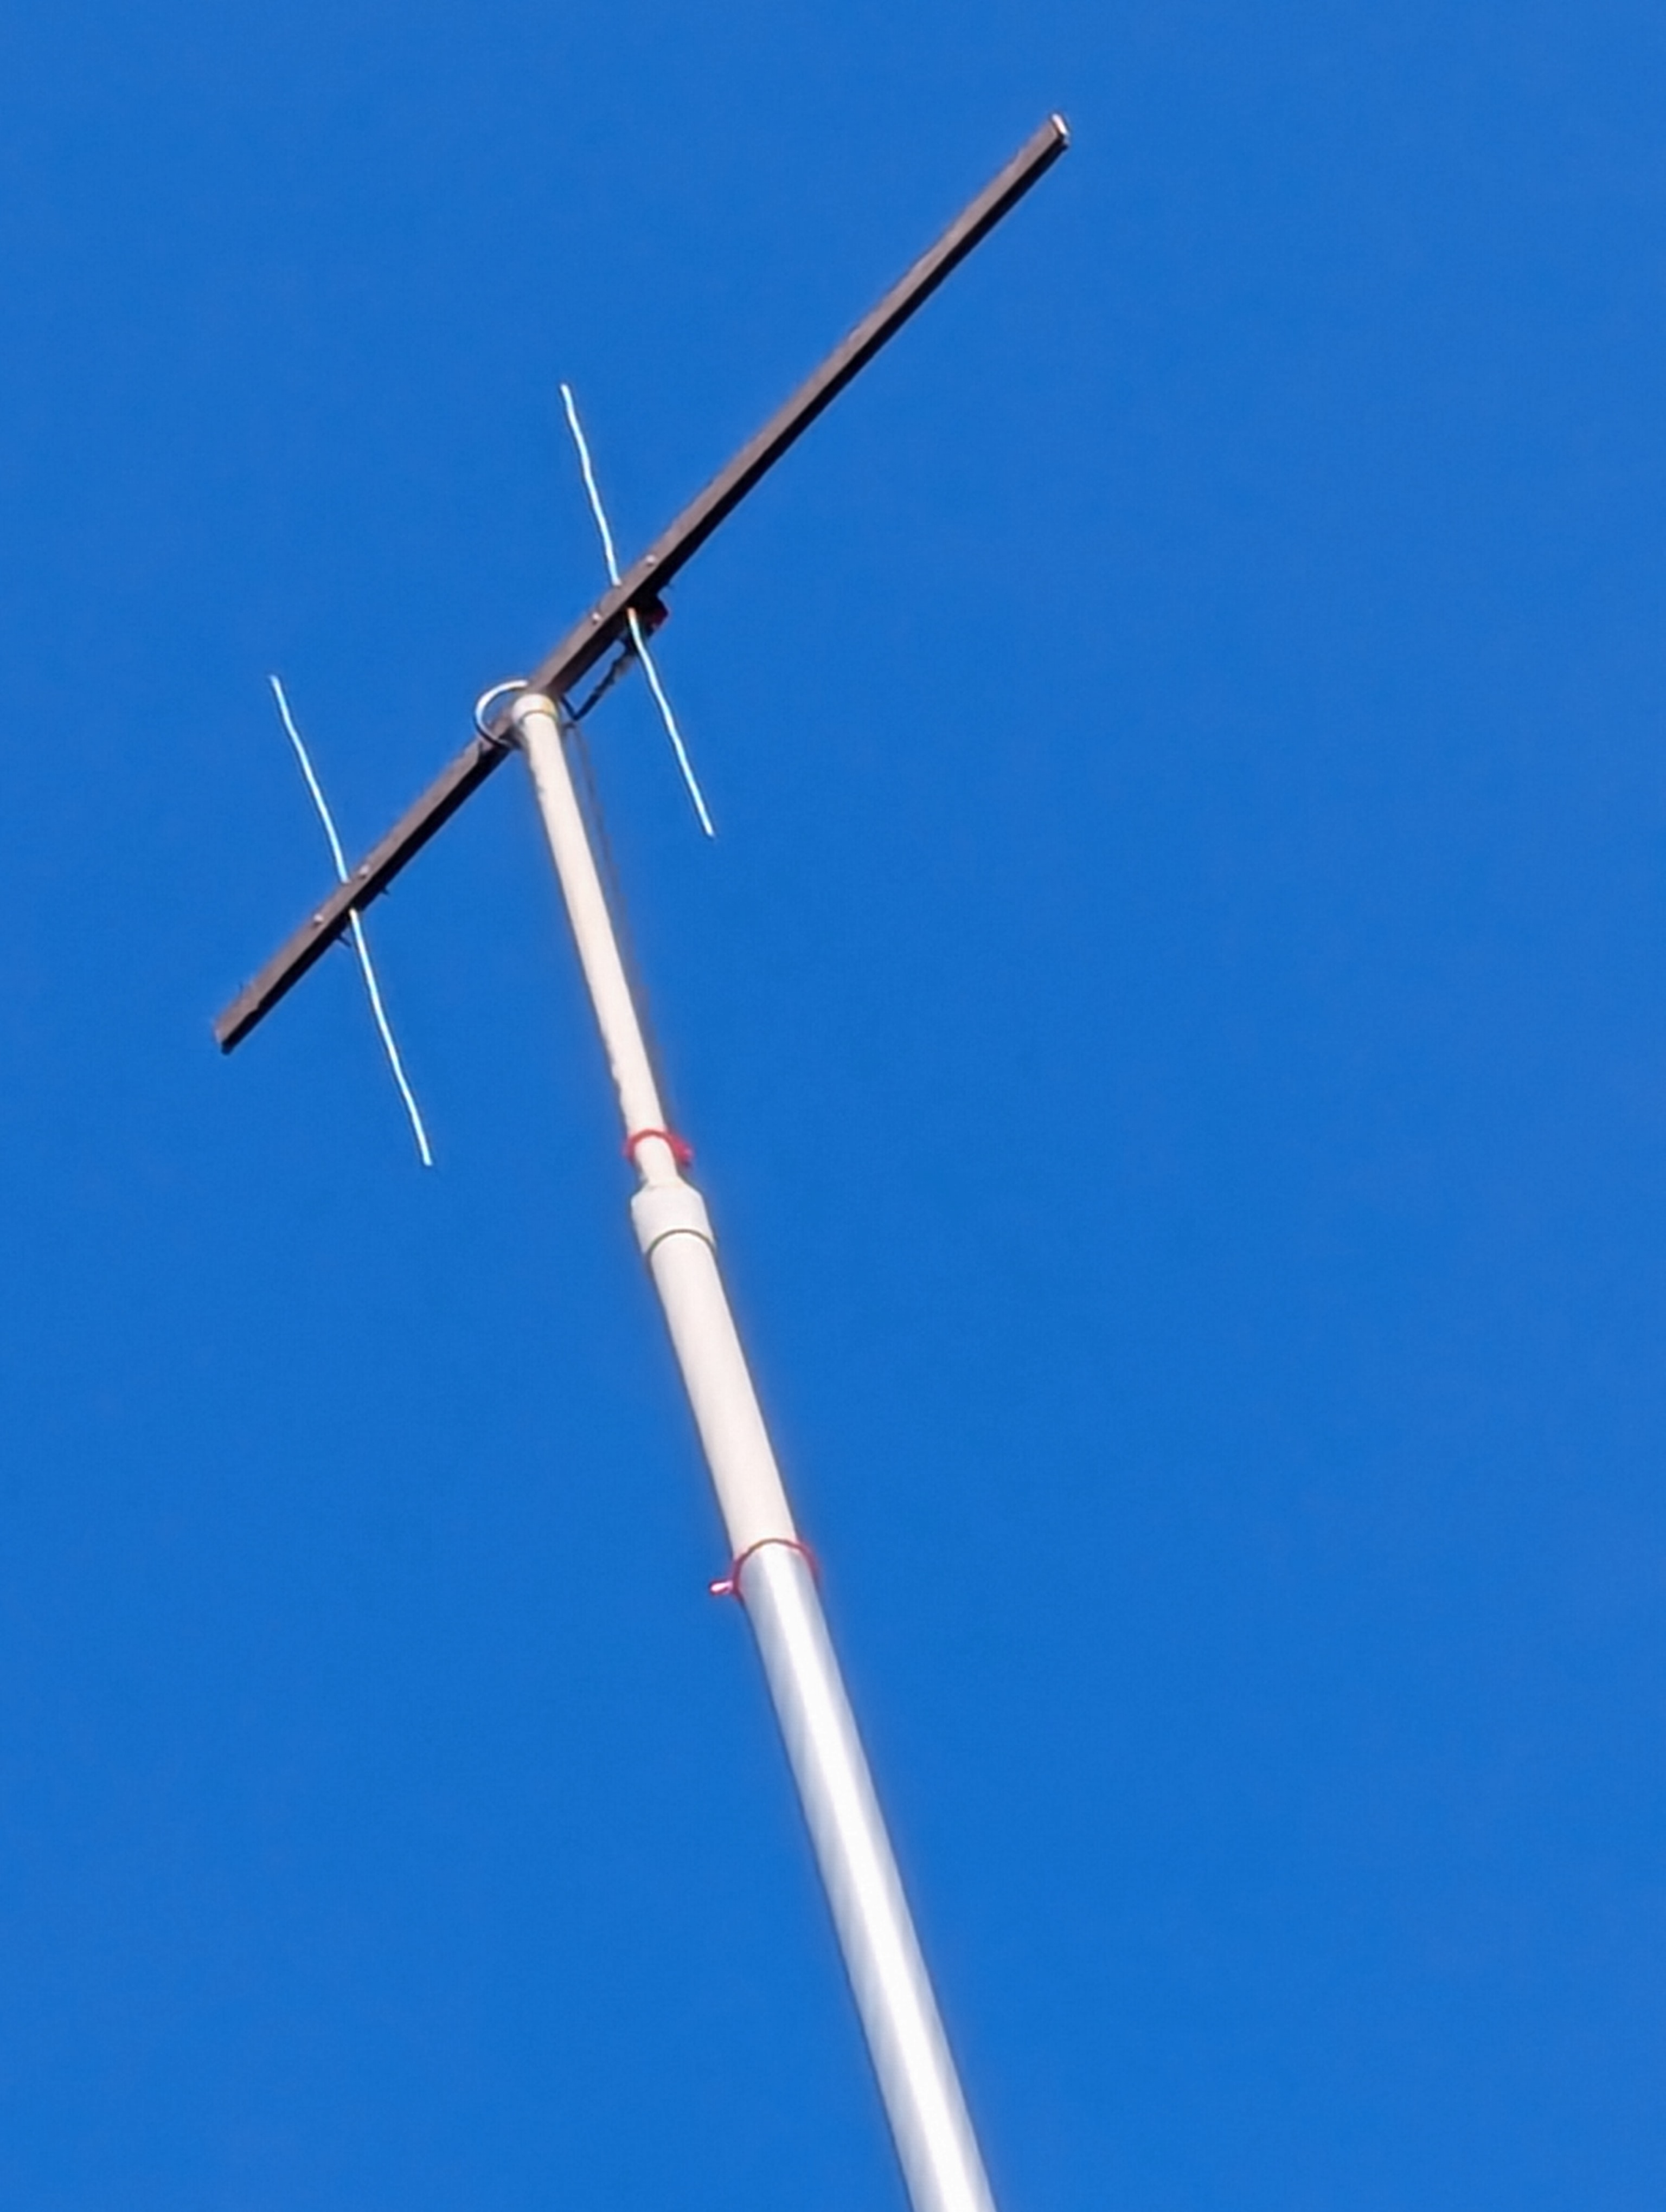
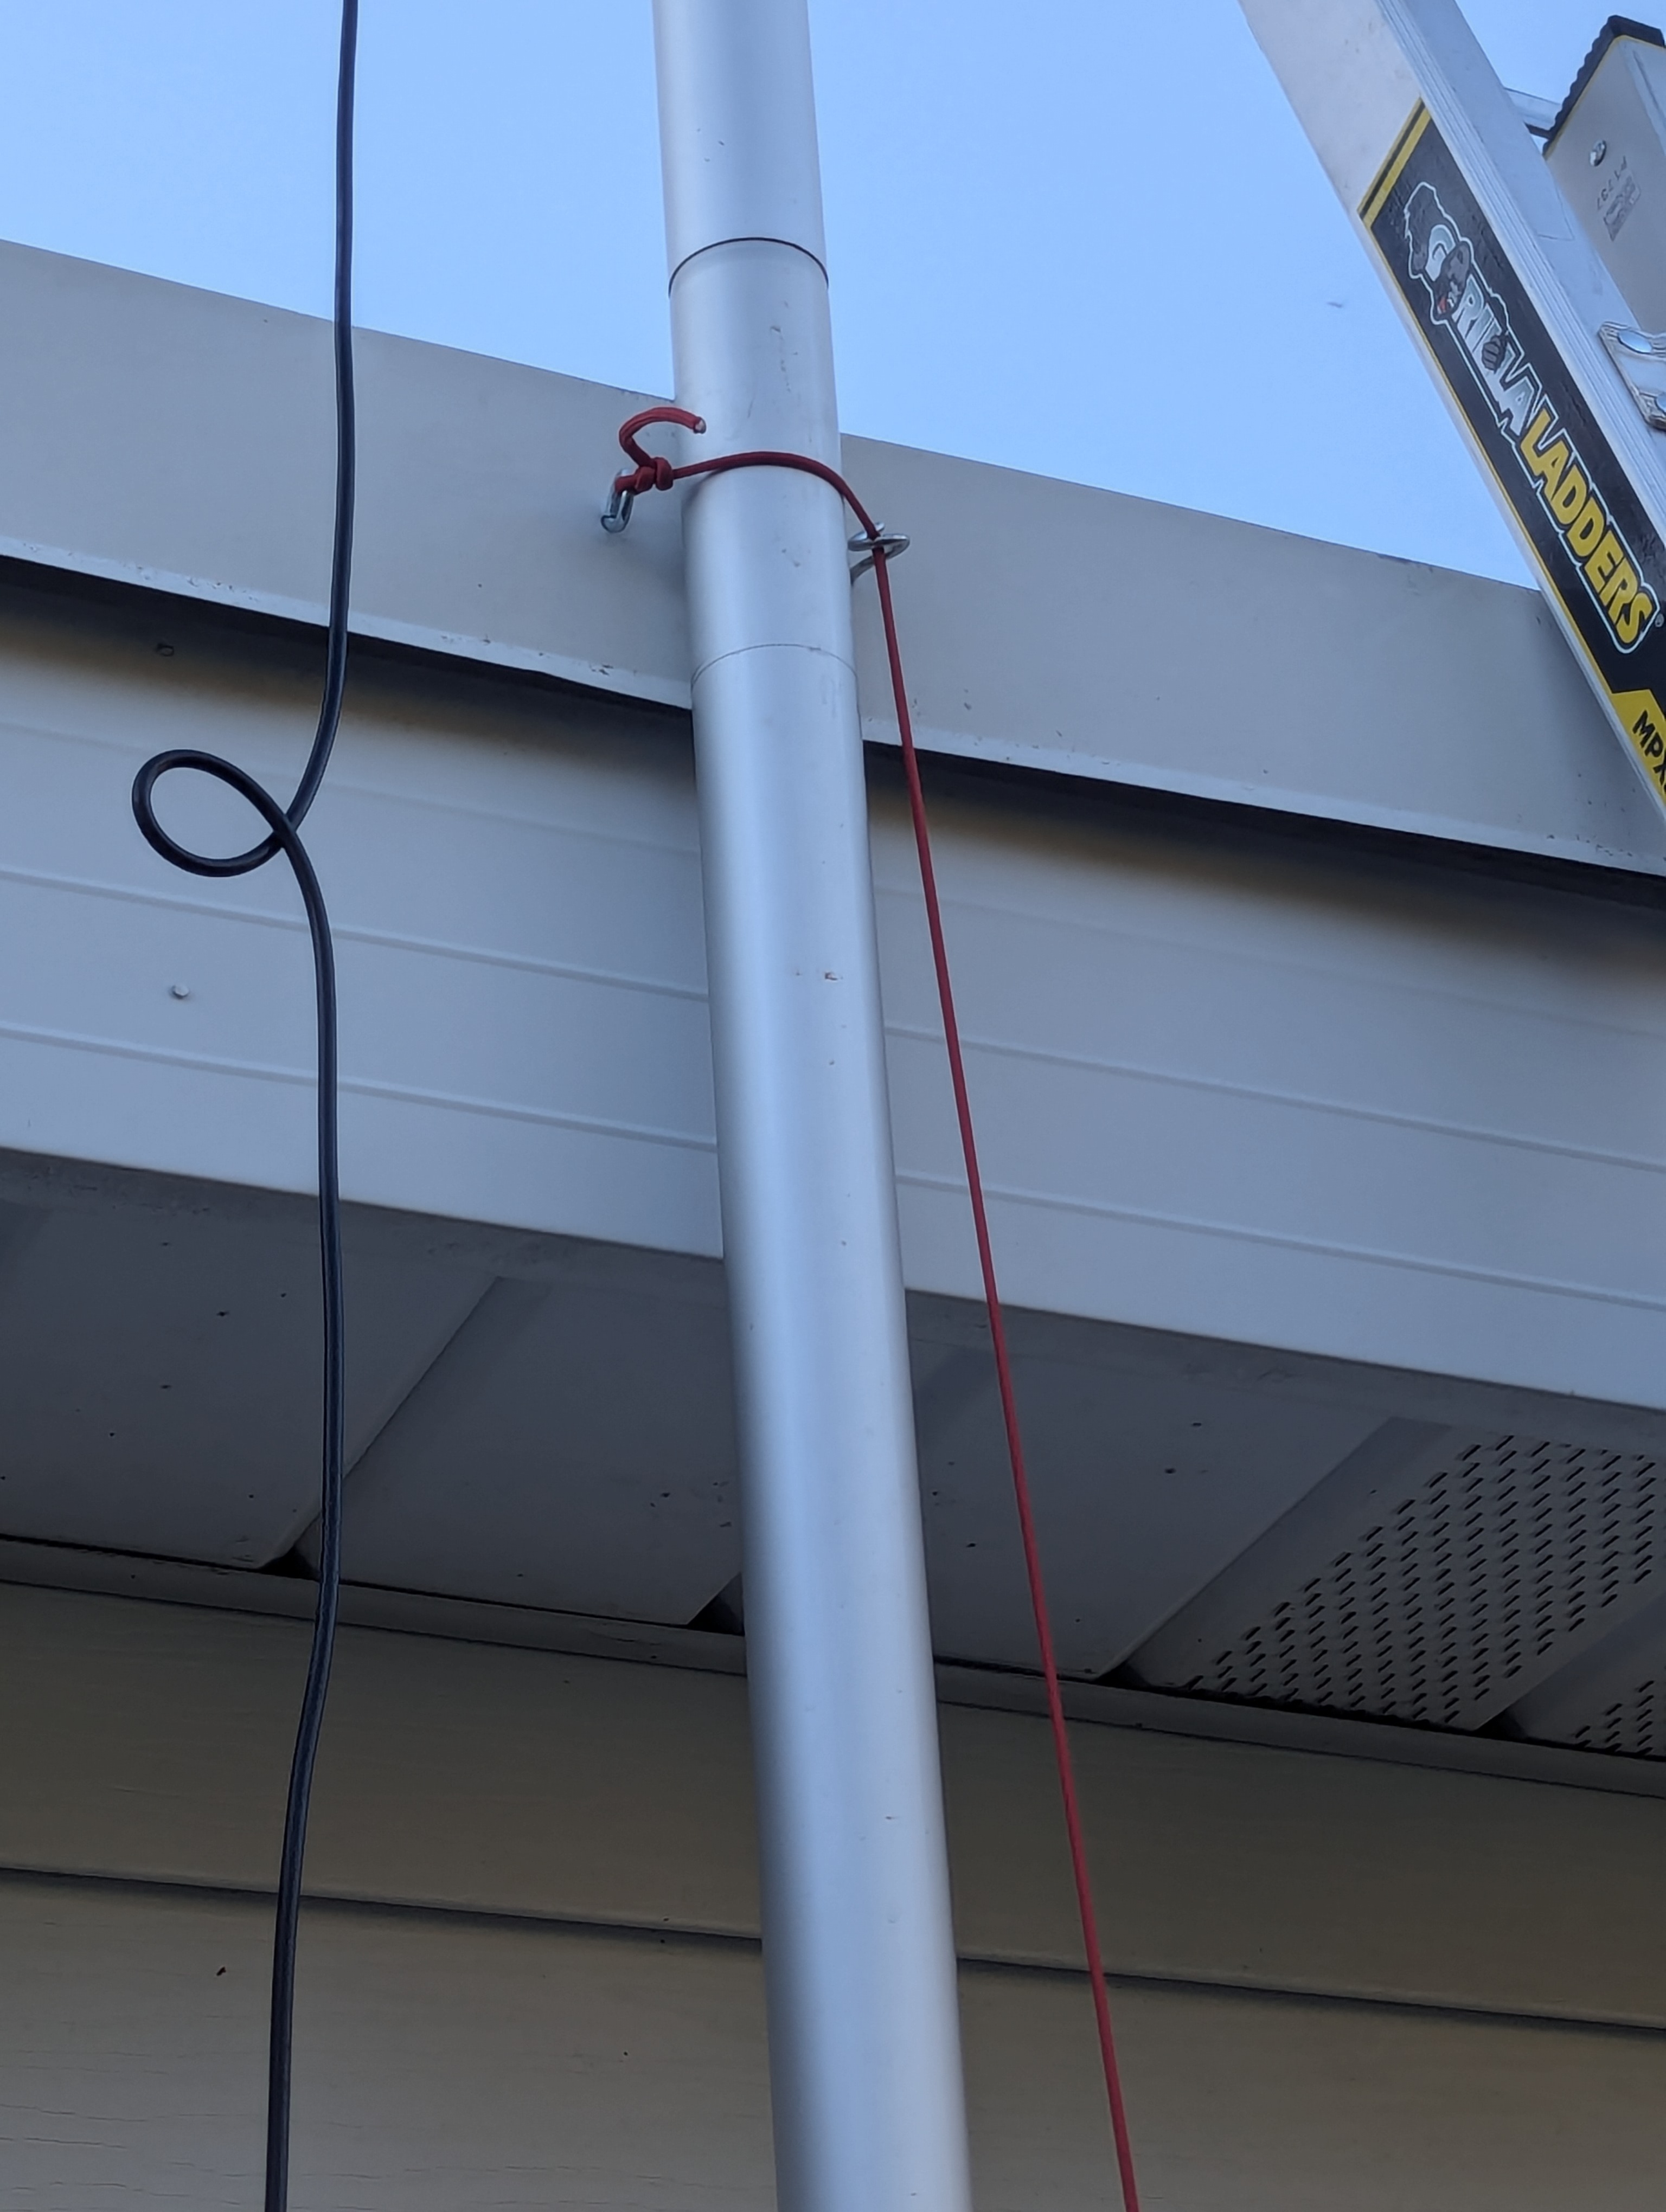
The Yagi spun around like a wind vane at times atop its flagpole, but it held up just fine. The aluminum pole swayed quite a bit as well. I’ve wrapped a loop of cord around the pole to use as reigns. so I can spin it straight again without really going outside.

Antenna Maintenance

The home-brew yagi blows around in the wind a bit, so I brought it down this morning as it started to snow, so I could straighten and tighten the elements. I realigned it for the 985 repeater, and checked it to be giving -96dBm.

I also resoldered some radials on the 1/4-wave ground plane antenna that go knocked loose in the tree.

antenna  yagi  985  w3gms  fm  vhf 

Yagi Pole Upgrade

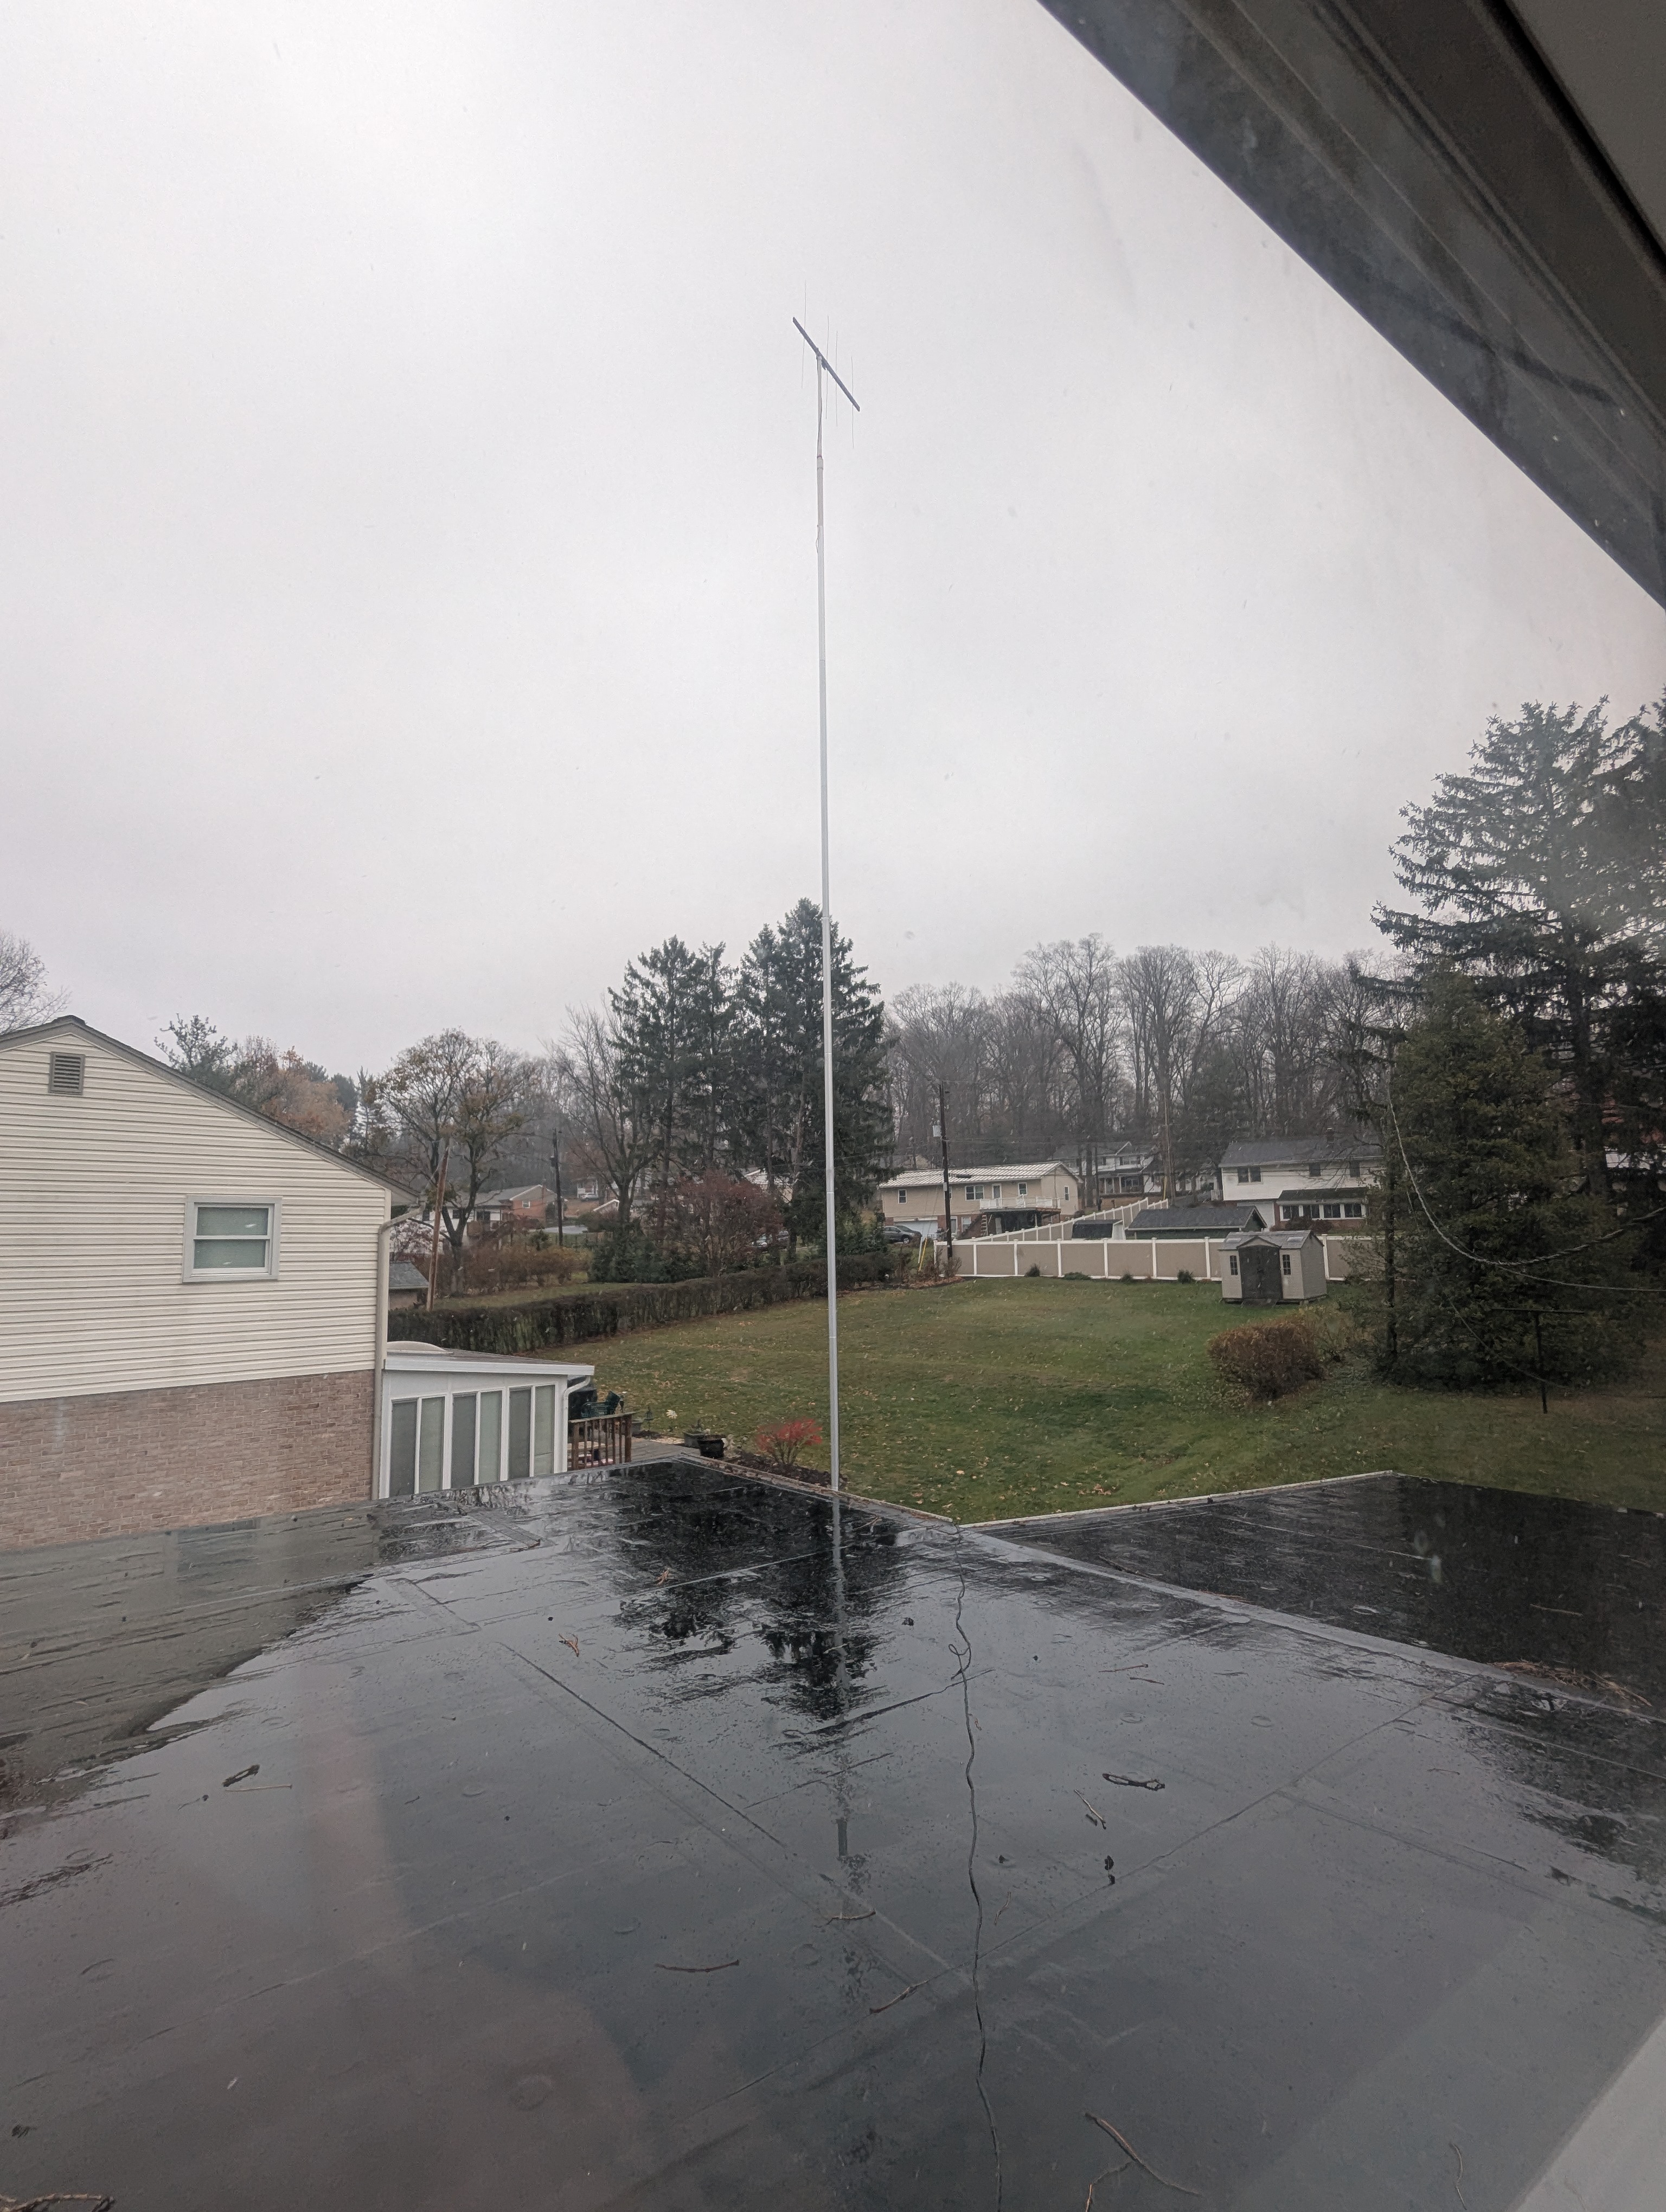
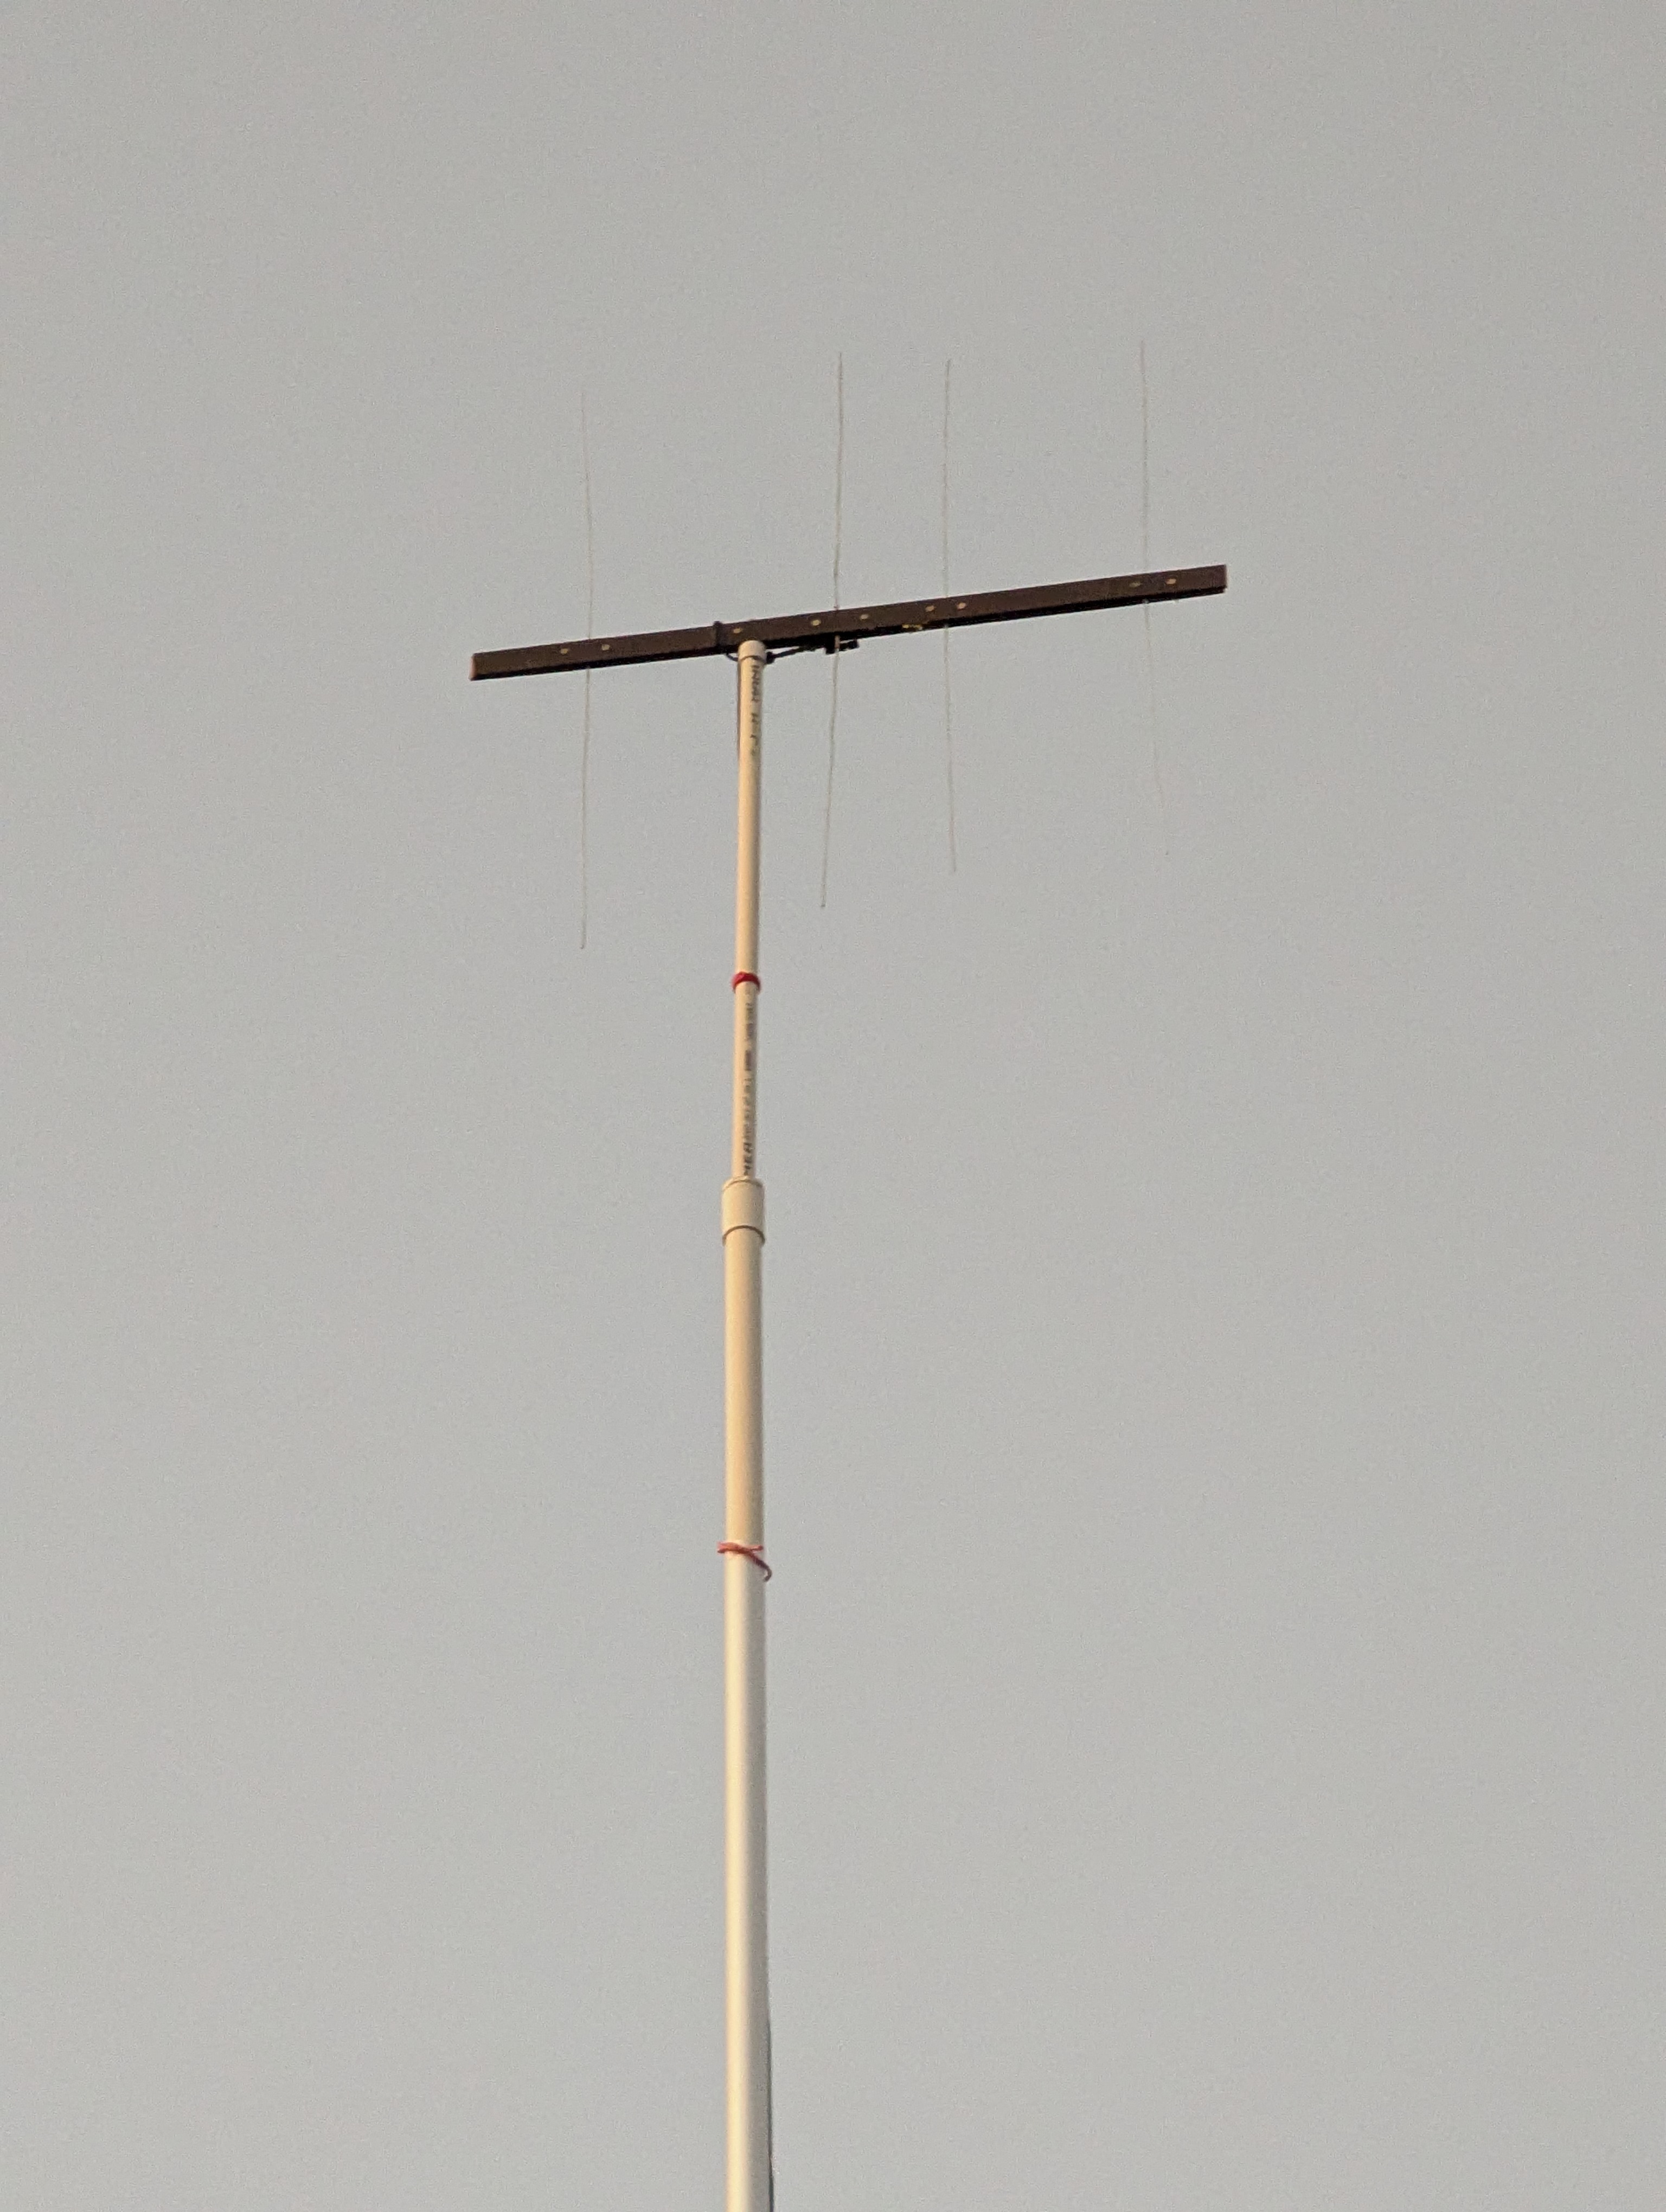
I added some sections to the flag pole to reach 37 feet, and I increased elements on the home-made yagi from 2 elements to 4 elements. Upon adding elements, I needed to stretch the driven element a couple millimeters longer to tune it. In testing, I’m seeing about -100 RSSI listening to W3GMS on a Quansheng. It was about -105 RSSI when mounted lower and only 2 elements.

2-Element Yagi on the Flag Pole

Tilt-up Flag Pole

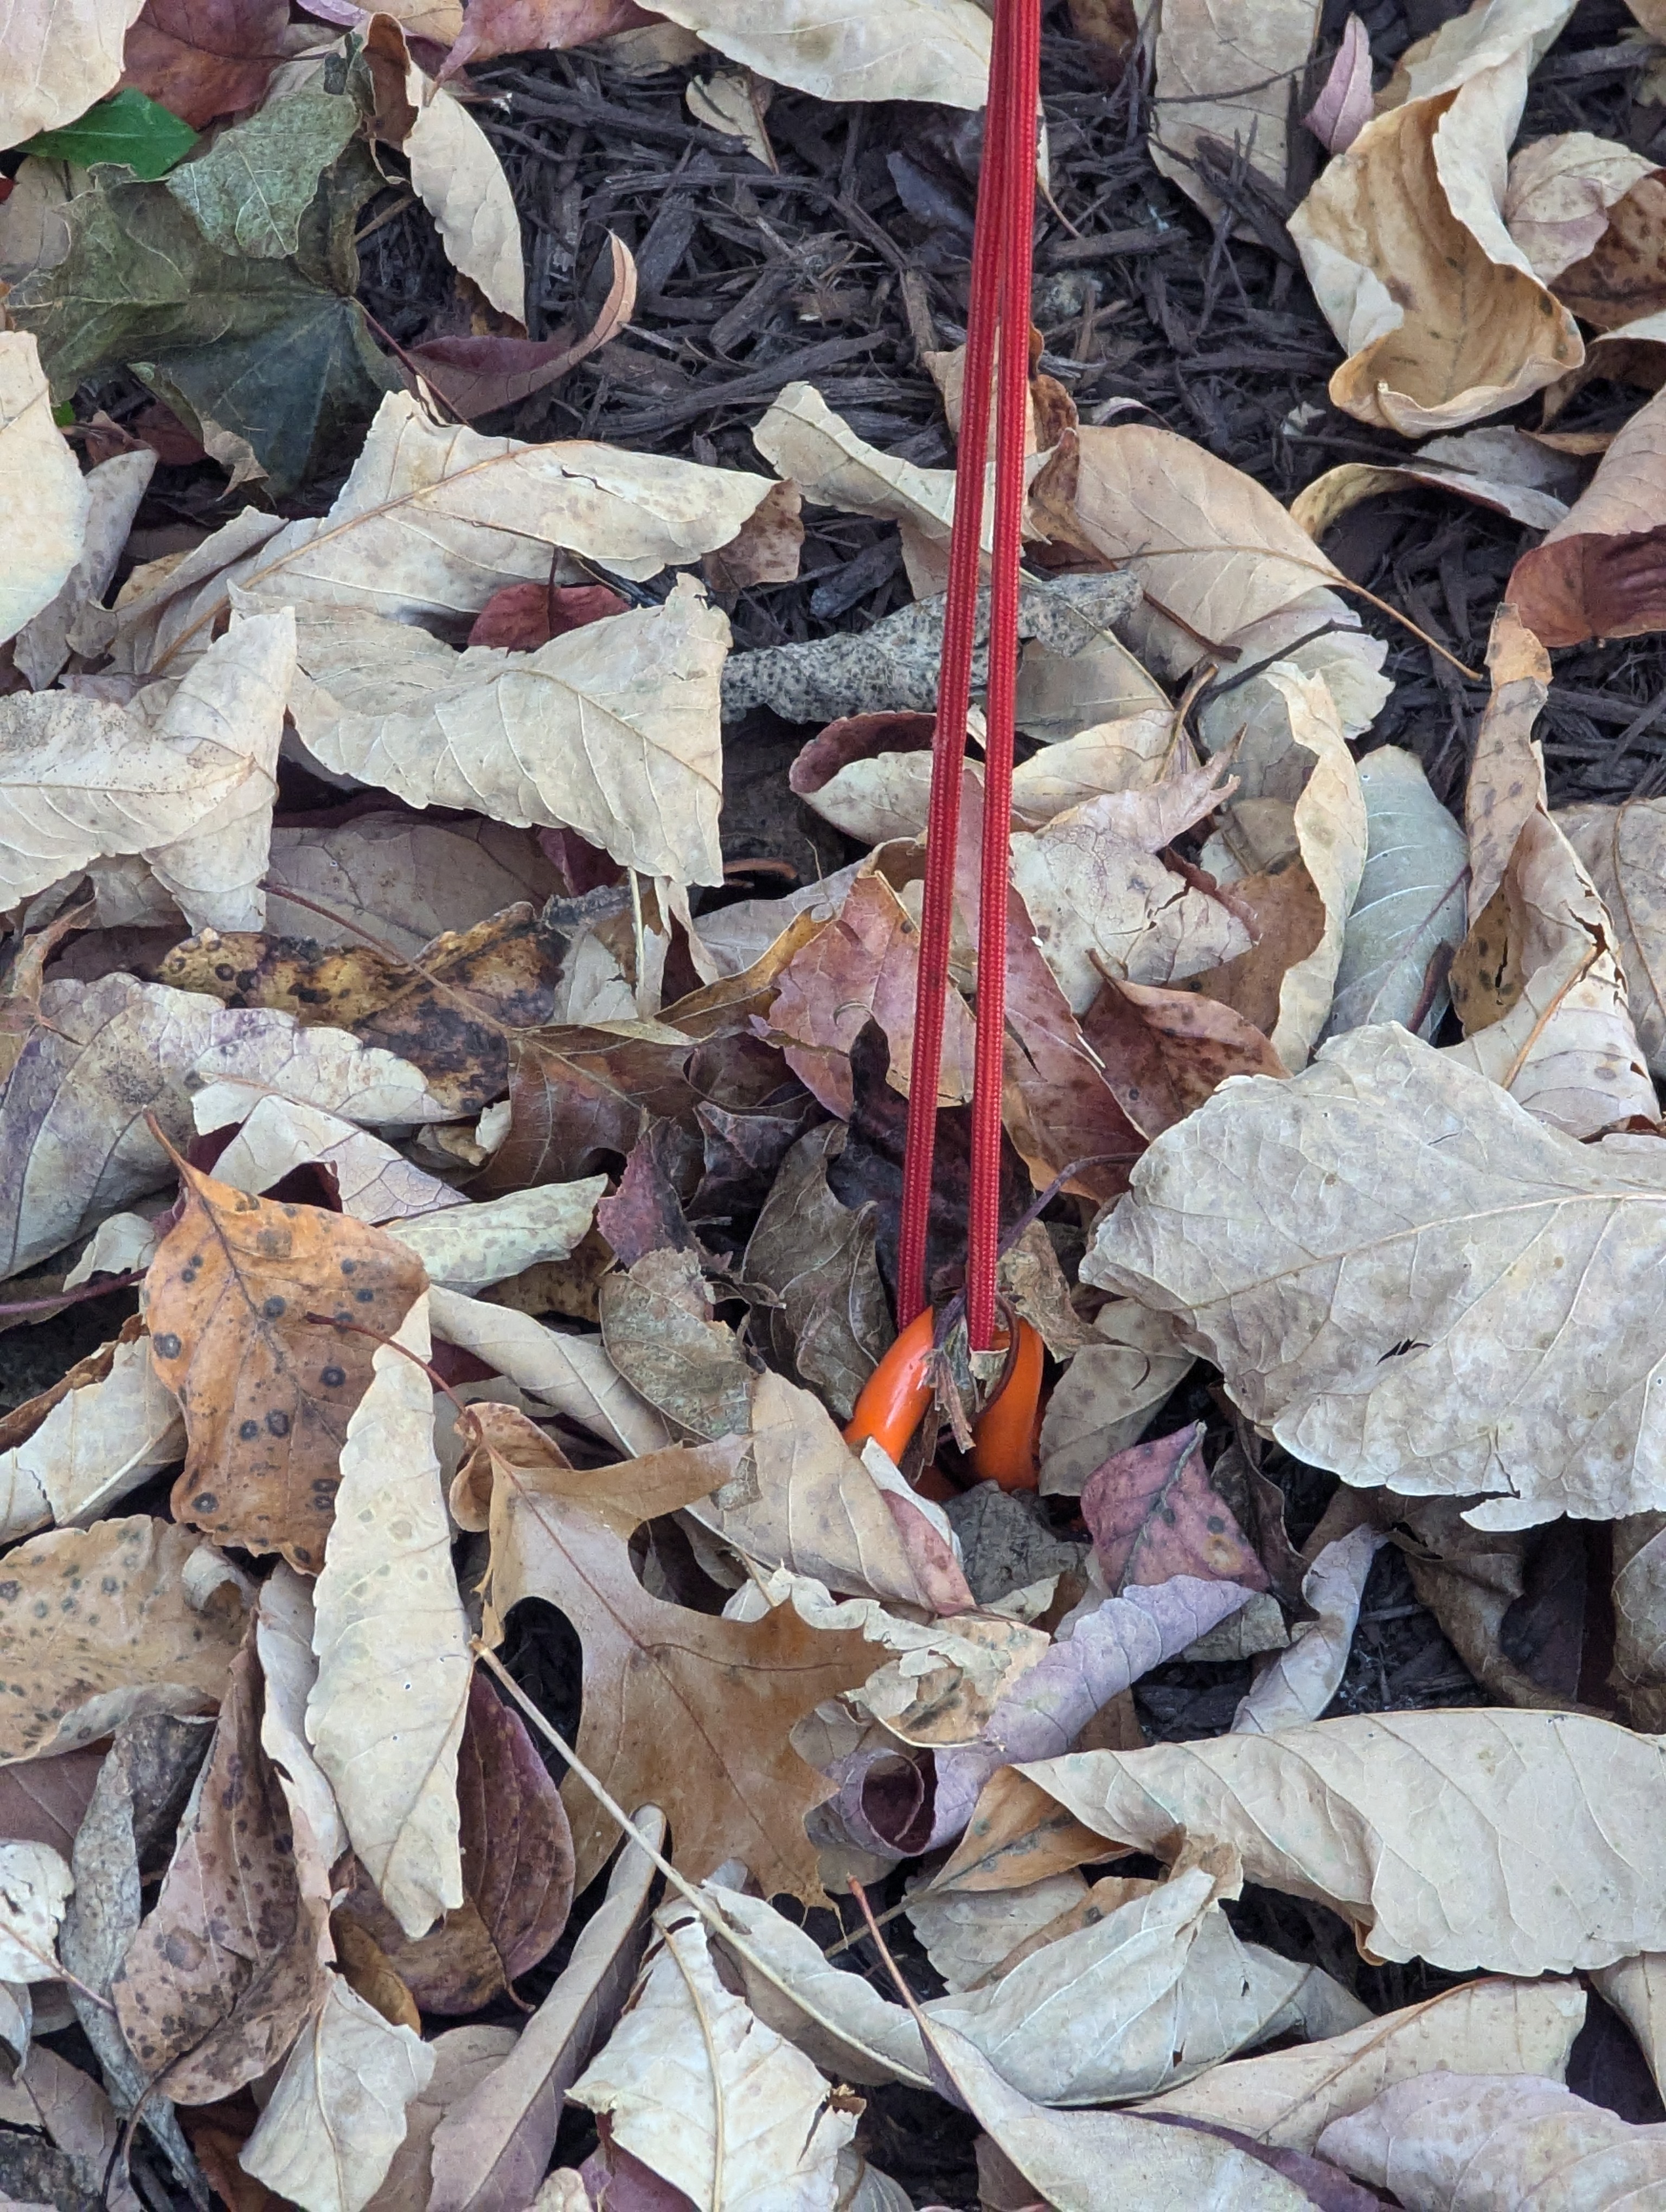
I figured out to do a tilt-up flag pole against the house reaching 25 feet into the air. It sits on a stake in the garden, and is secured to the house with paracord in an eyelet and hook screwed into the side of the roof.

2-Element Yagi

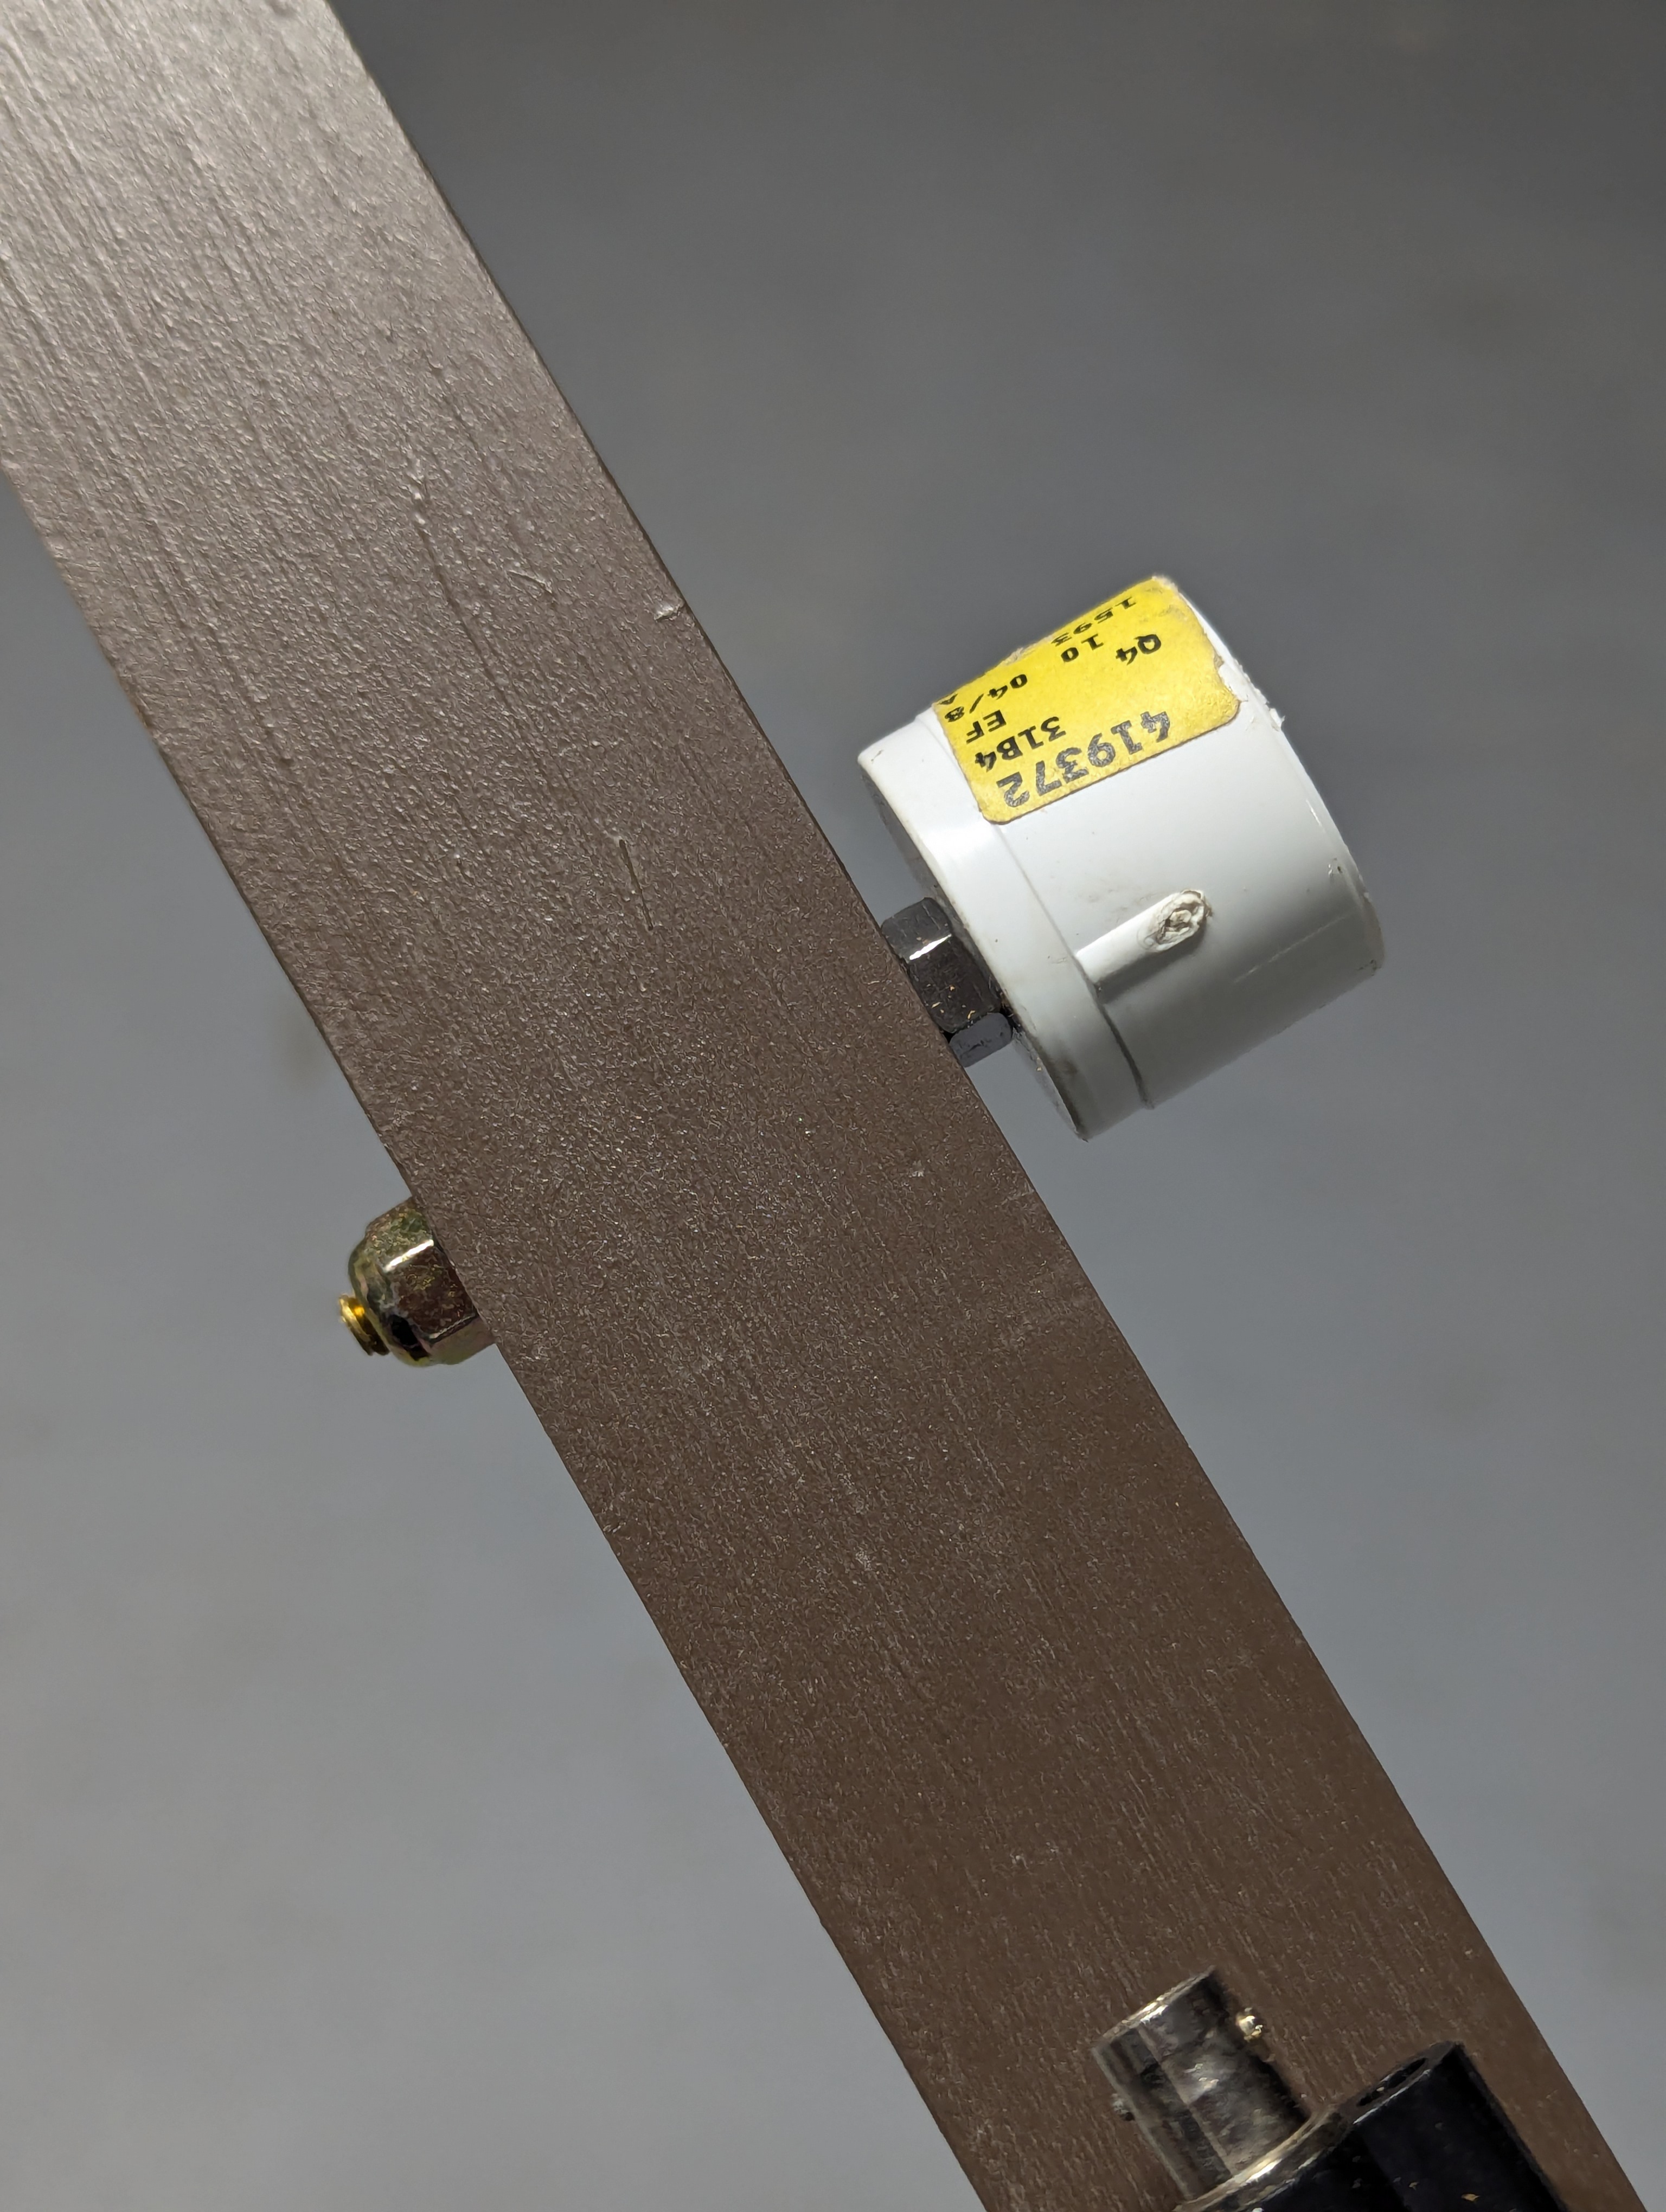
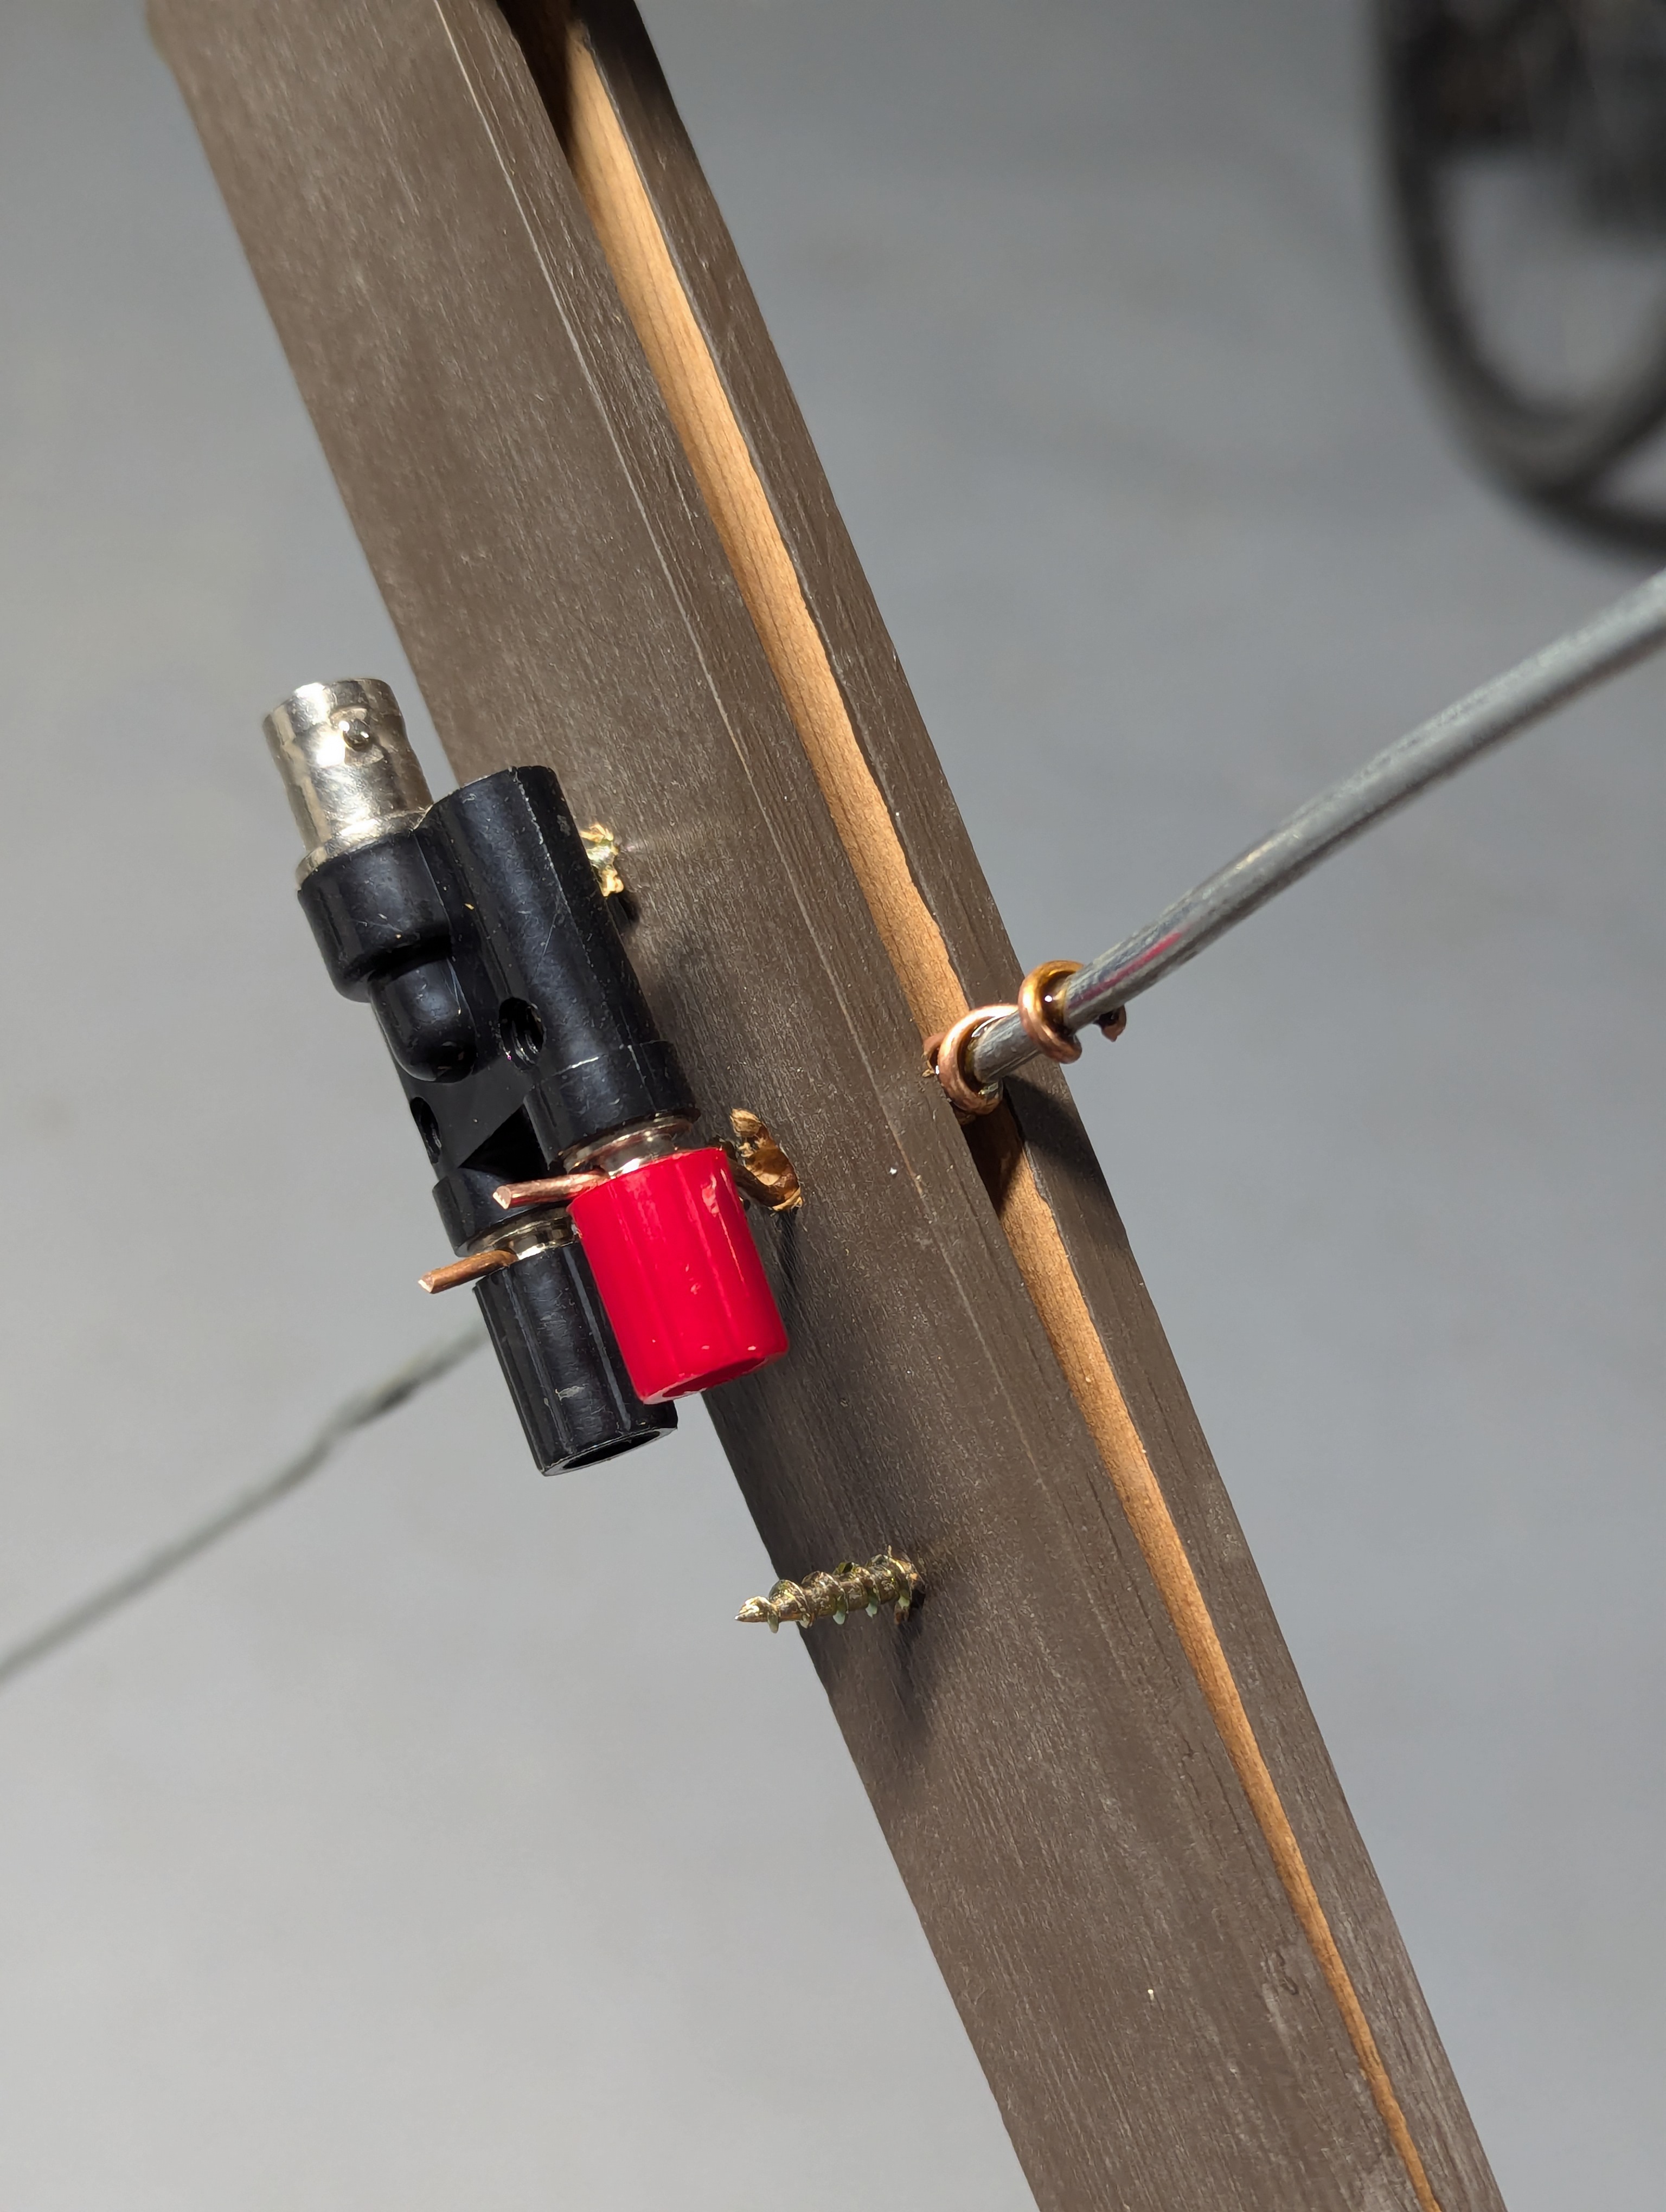
I built a new 2-element yagi using an online calculator It tuned OK with the banana-clip adapter directly connected to the driven element. I first tuned the dipole, and then added the reflector element. As predicted, it shifted the tuning slightly, so I trimmed the driven element to retune. The nice thing is that the spacings and sizes of the original elements don’t change as you add more director elements, so I calculated it with 2 or 3 directors, but put none in for the first iteration. I can add more elements later.

I gave it a try to reach 985 with the TYT TH-9800 running 50W. It was scratchy, but copy-able. I have more flag pole sections ordered to make it a little higher.

Tape Measure Yagi

There are easy instructions to build your own yagi on Instructables. I had just picked up some hose clamps and had the other necessary pieces: a broken tape measure and some 3/4-inch schedule 40 PVC and connectors; so I was ready to build.

The wiring on mine is held in place by the clamps and banana clip adapter. I always like those for prototyping. As directed, I tuned the antenna by moving radiators in and out and measuring with the NanoVNA.

The antenna is noticeably directional, so I can use it to find directions of signals. The S-meter and dB signal strength numbers on AUBS firmware make it easy to evaluate strength and direction.

I transmitted with it to the K3IR repeater as a test during a net.